
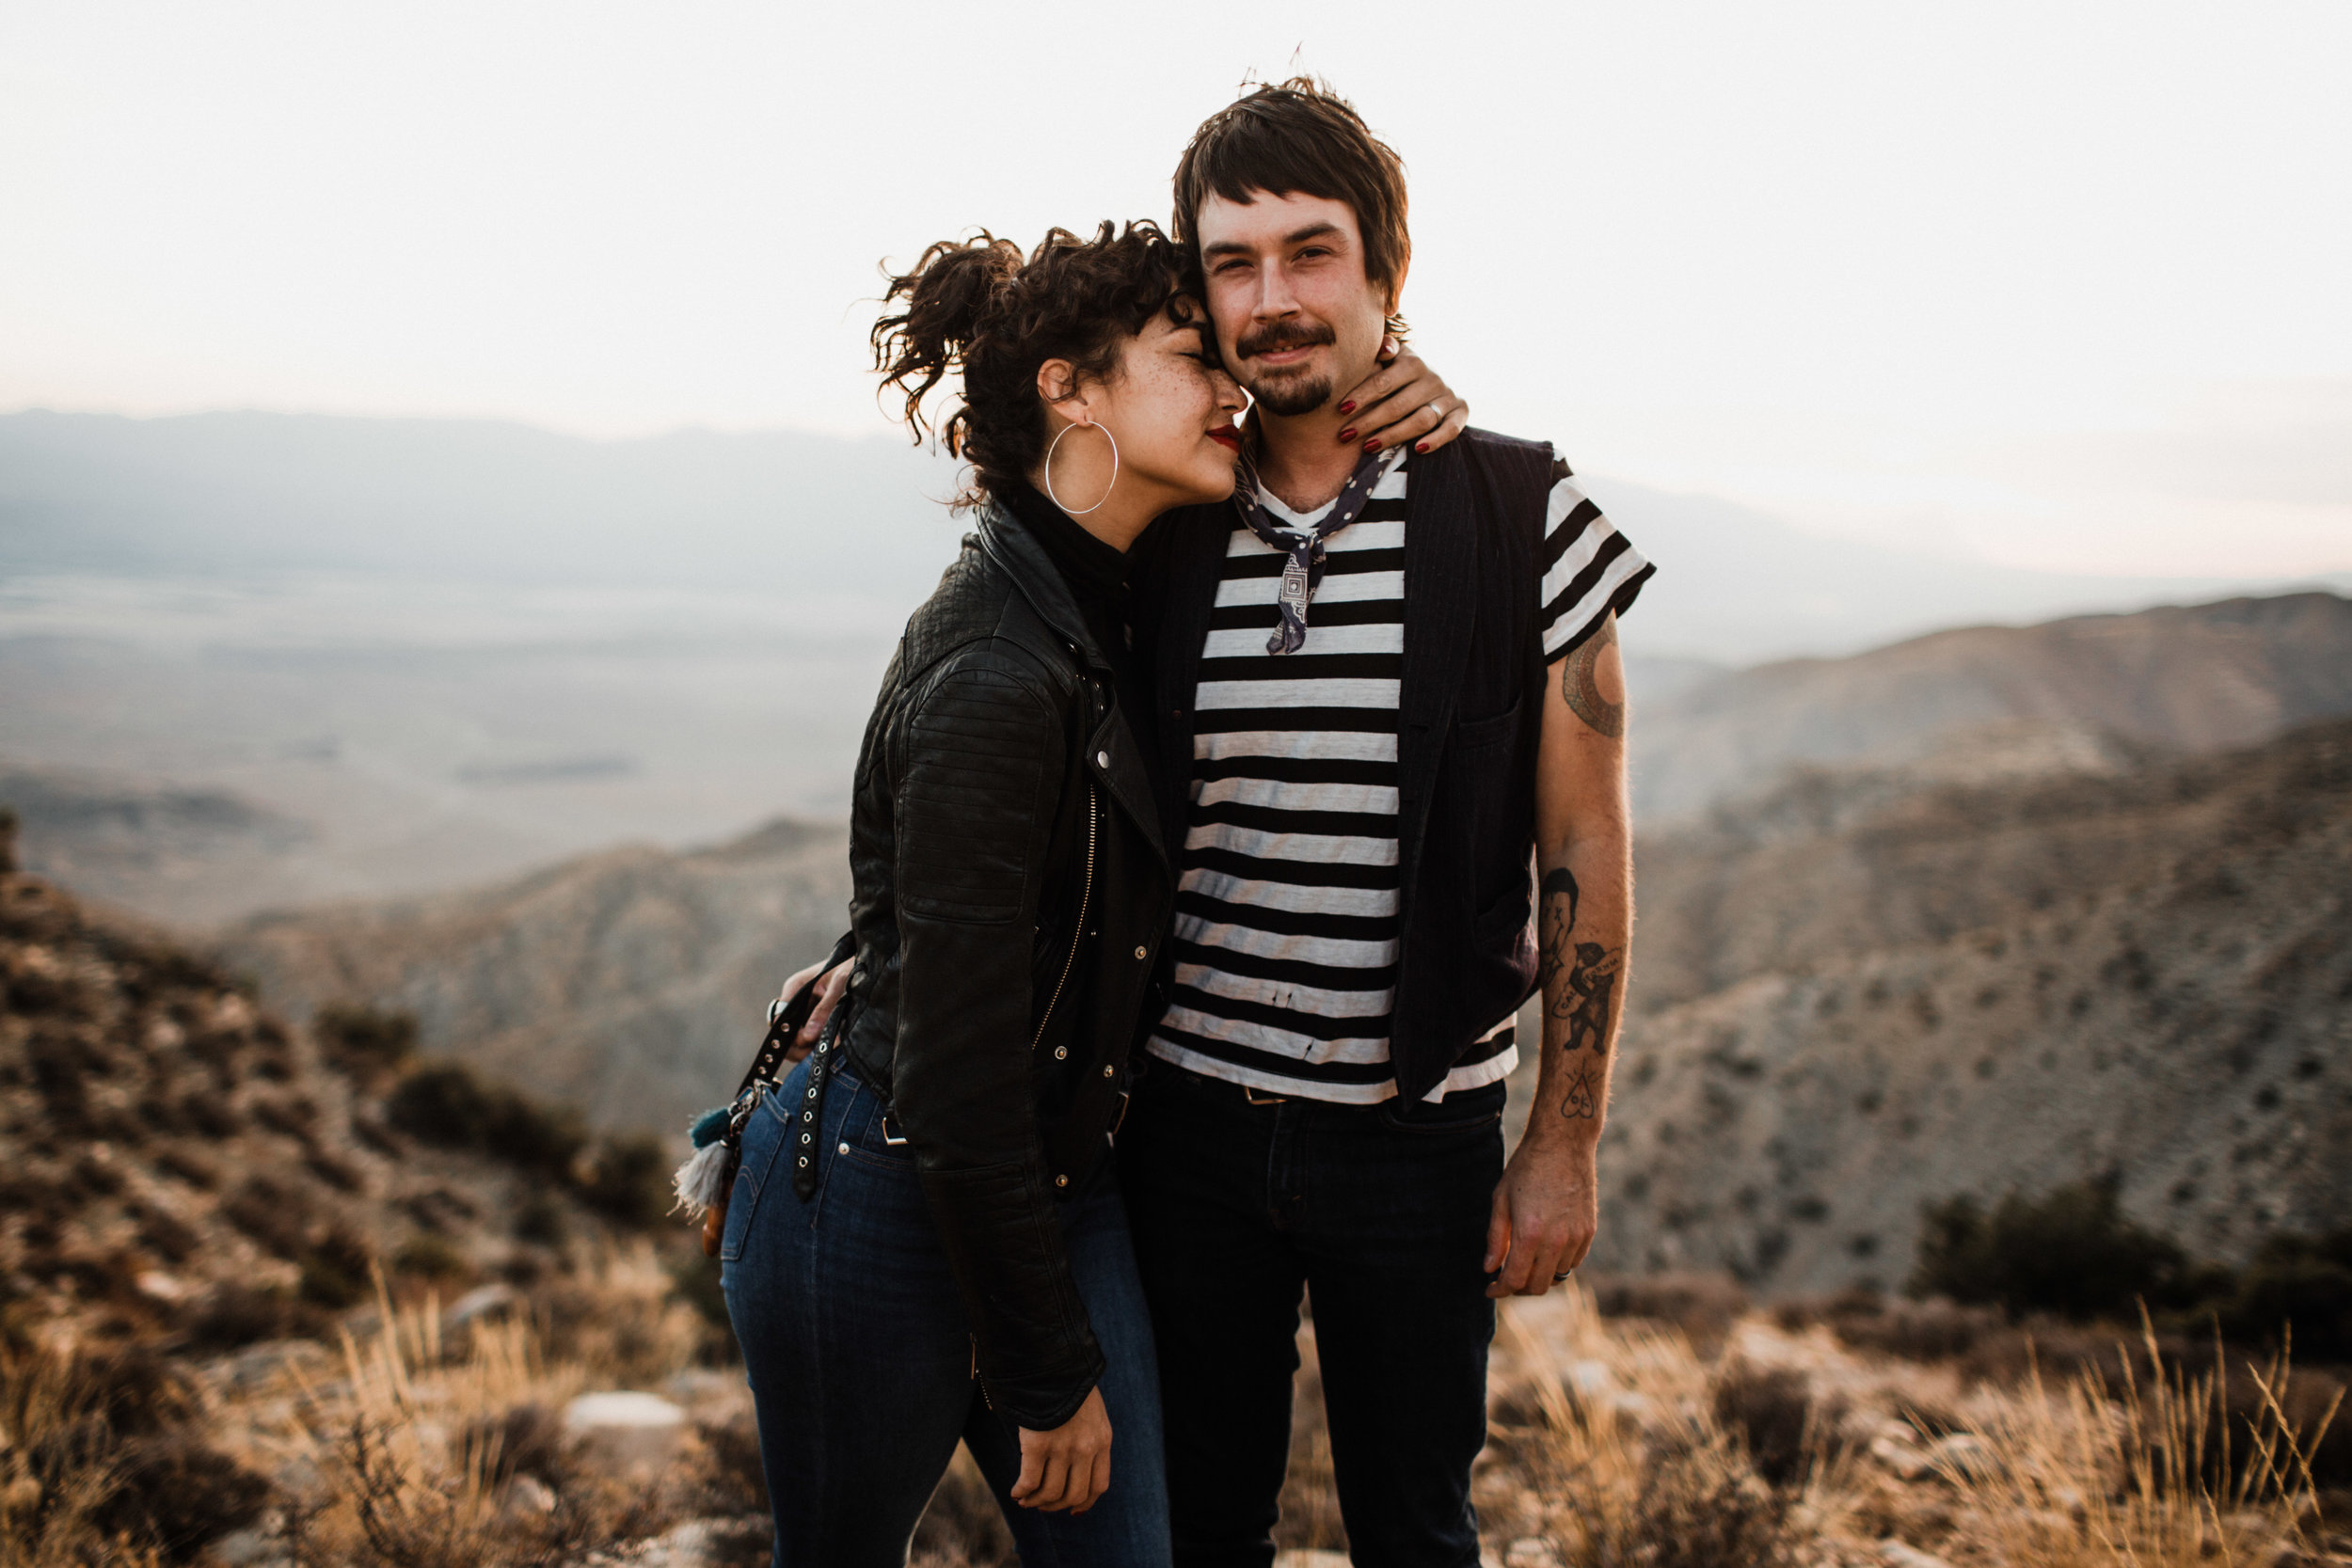
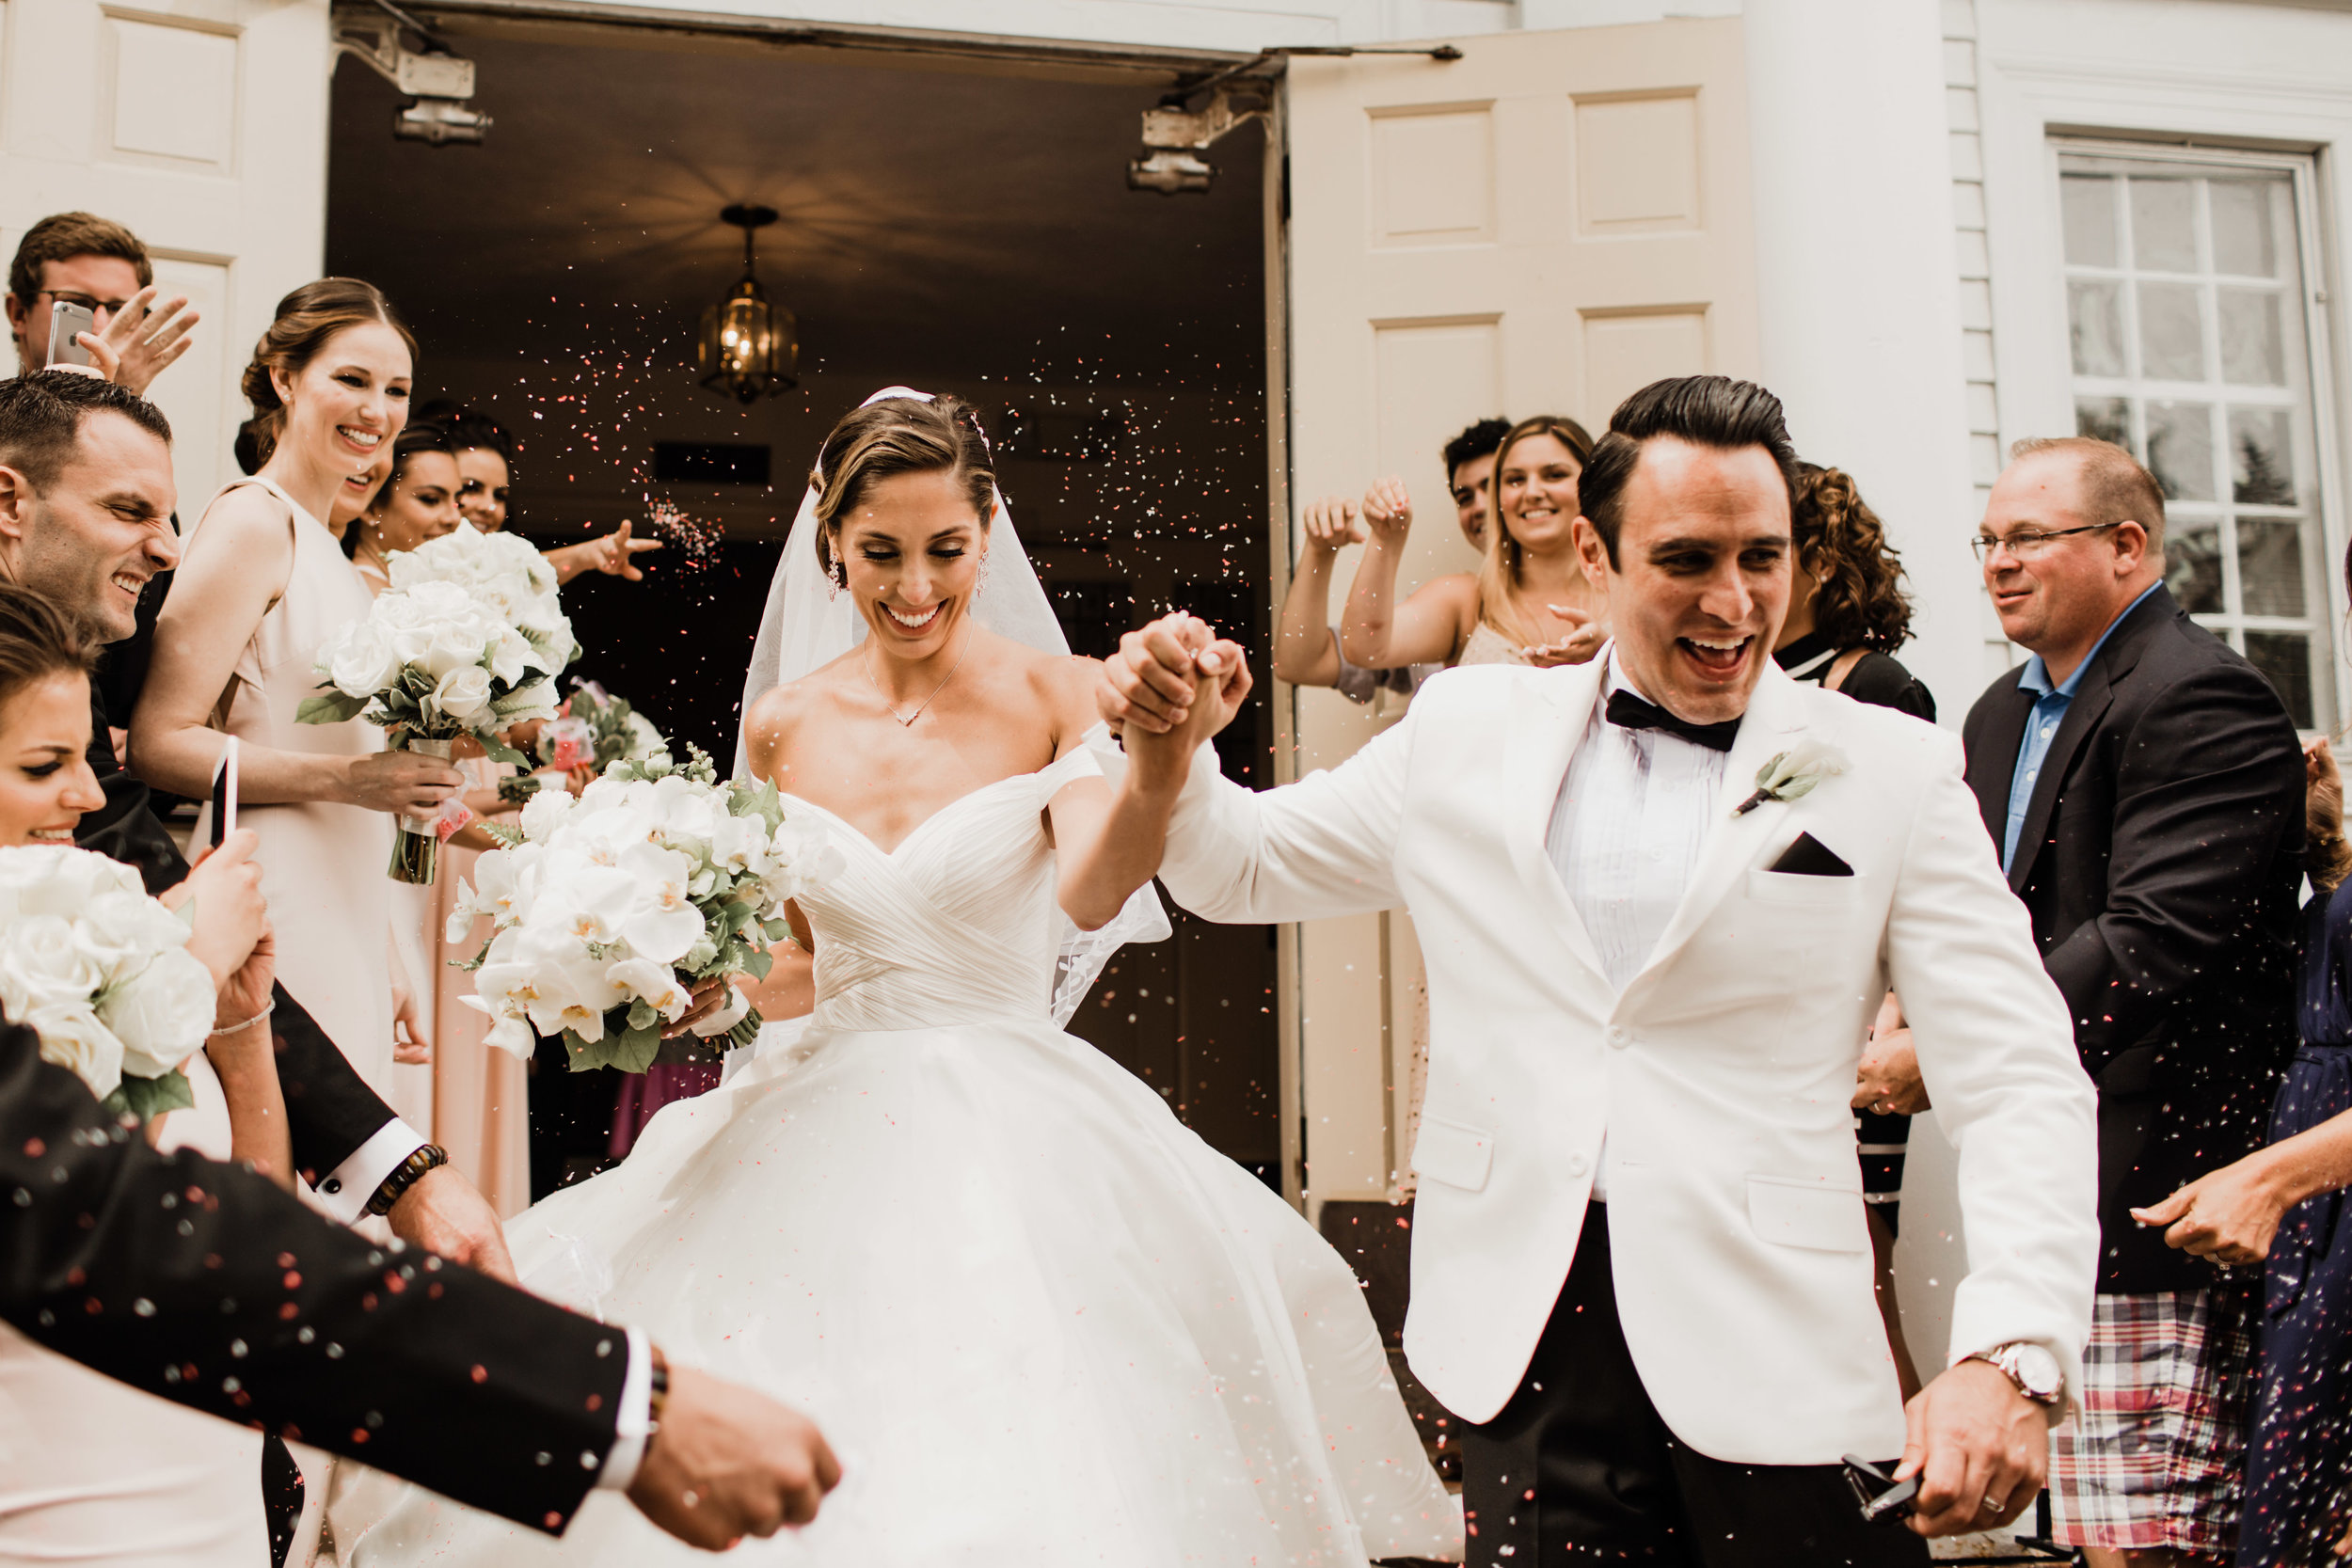
CALDERA - SUNNY
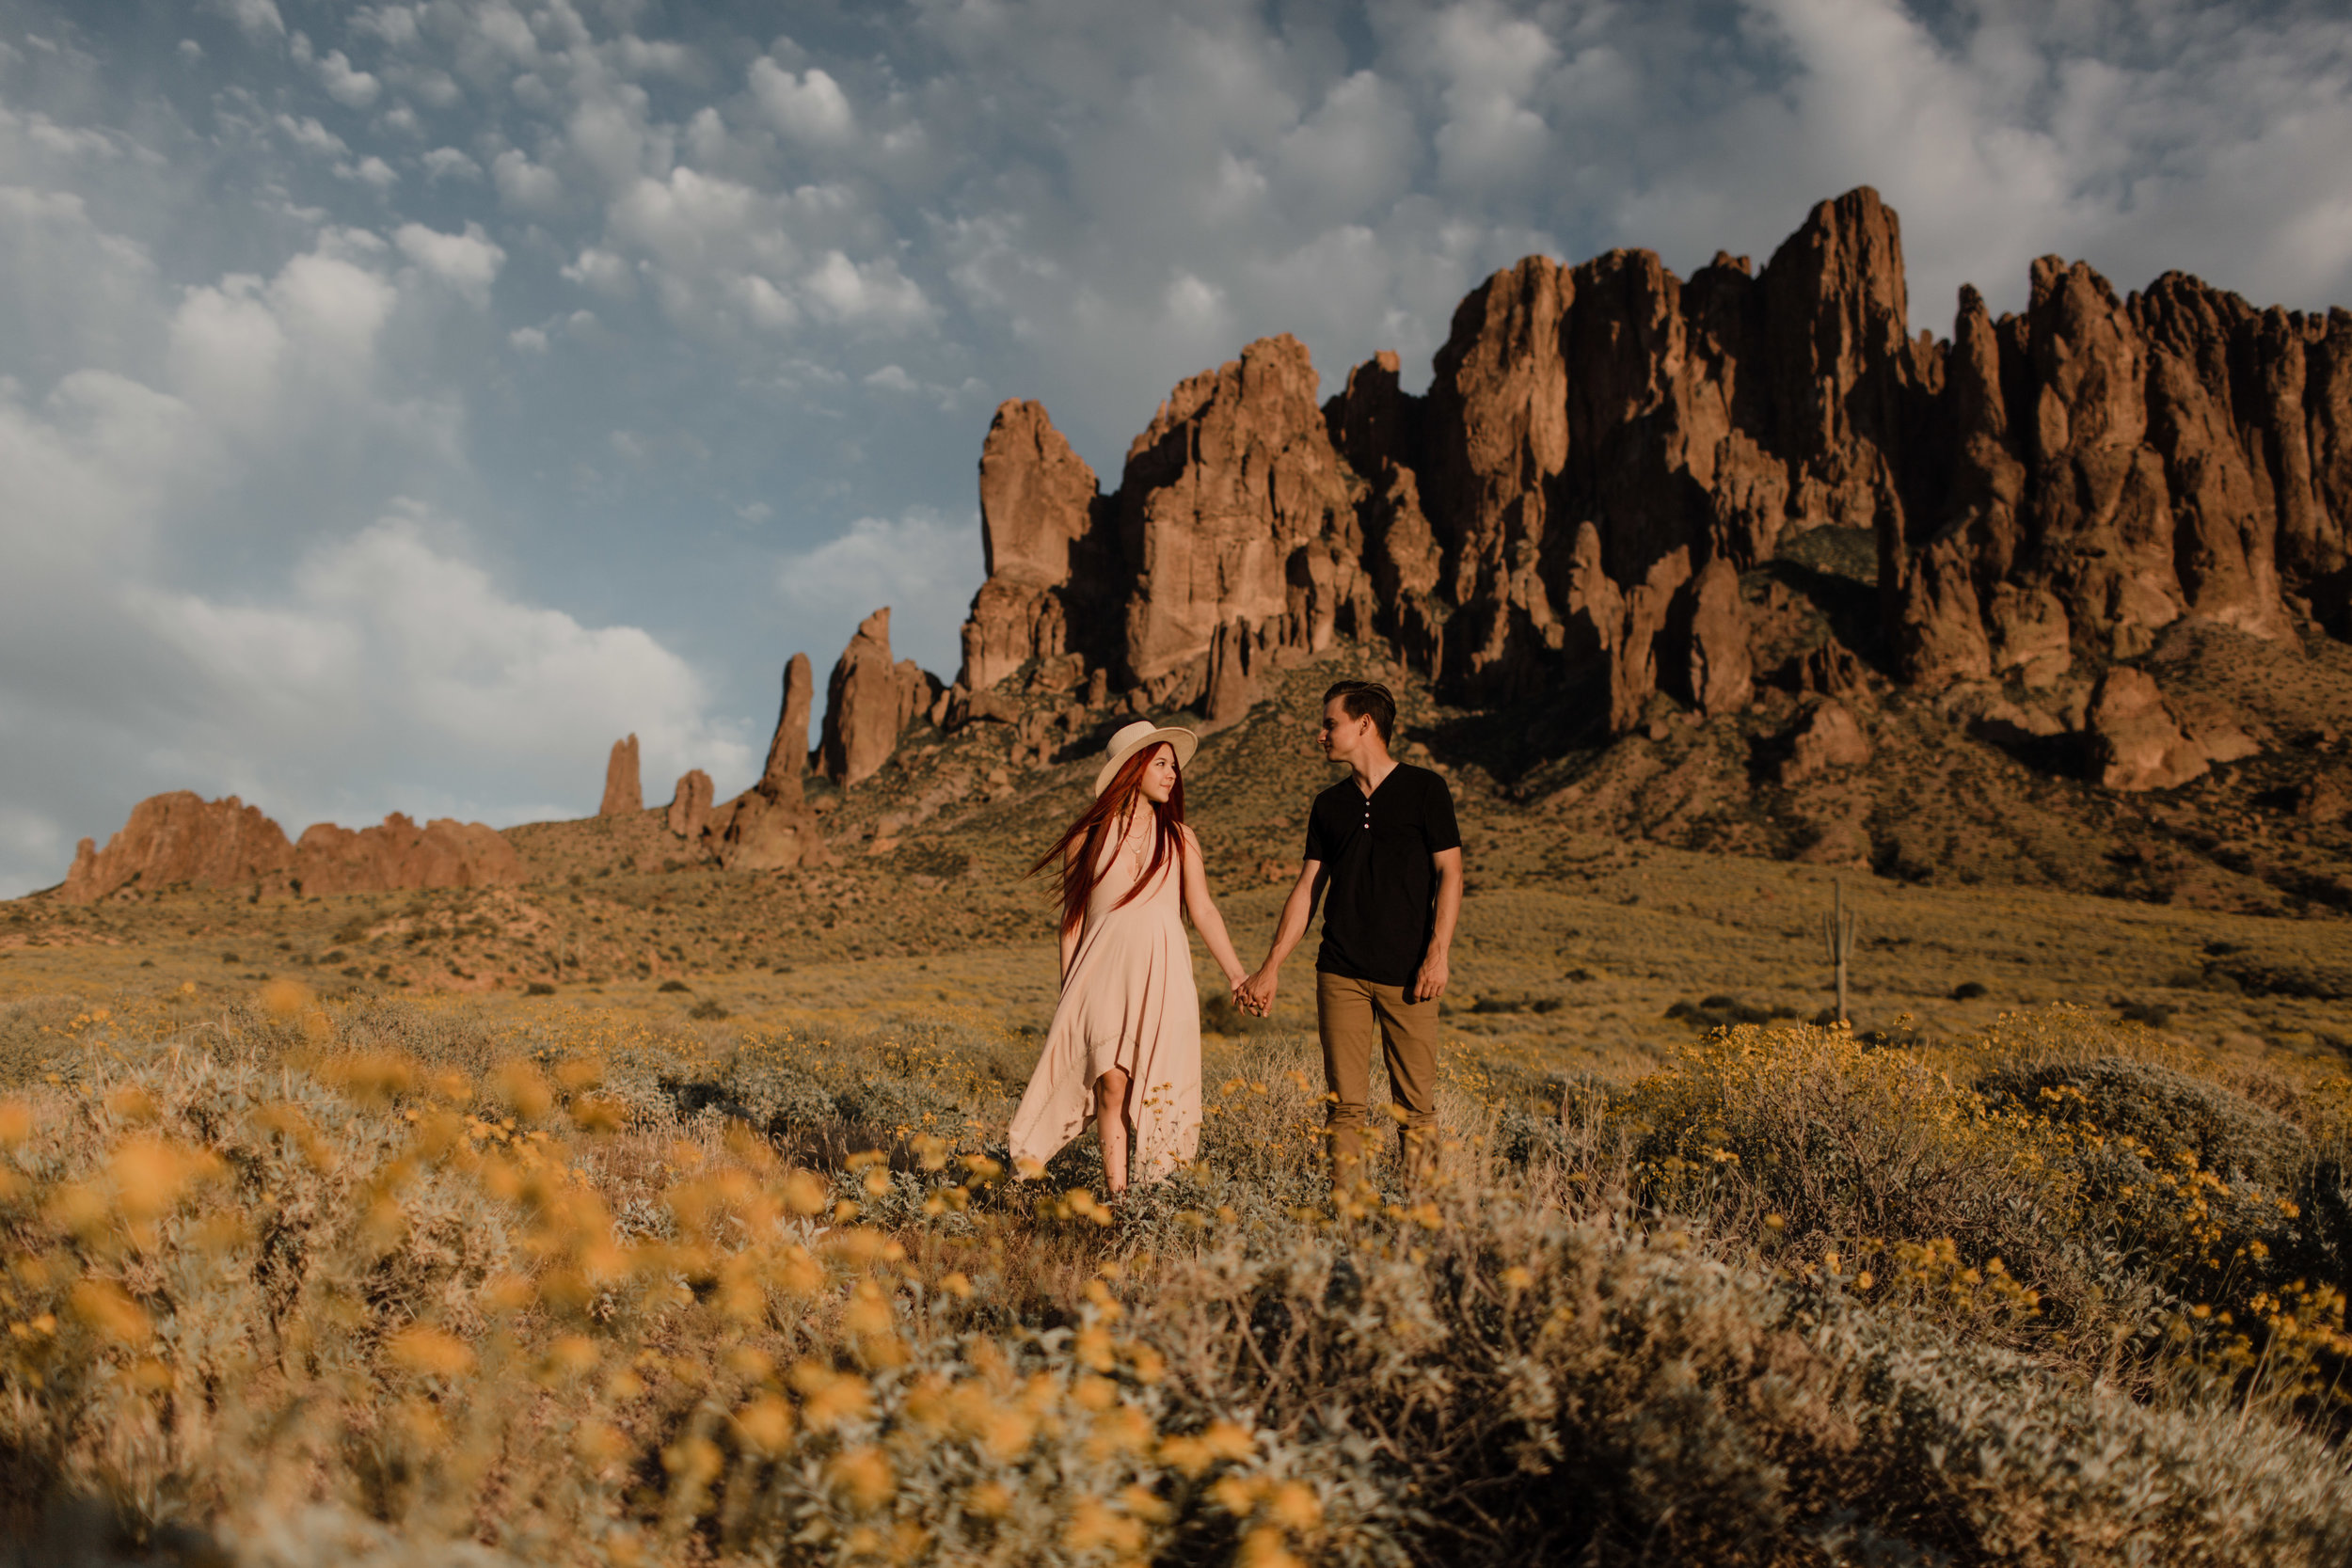
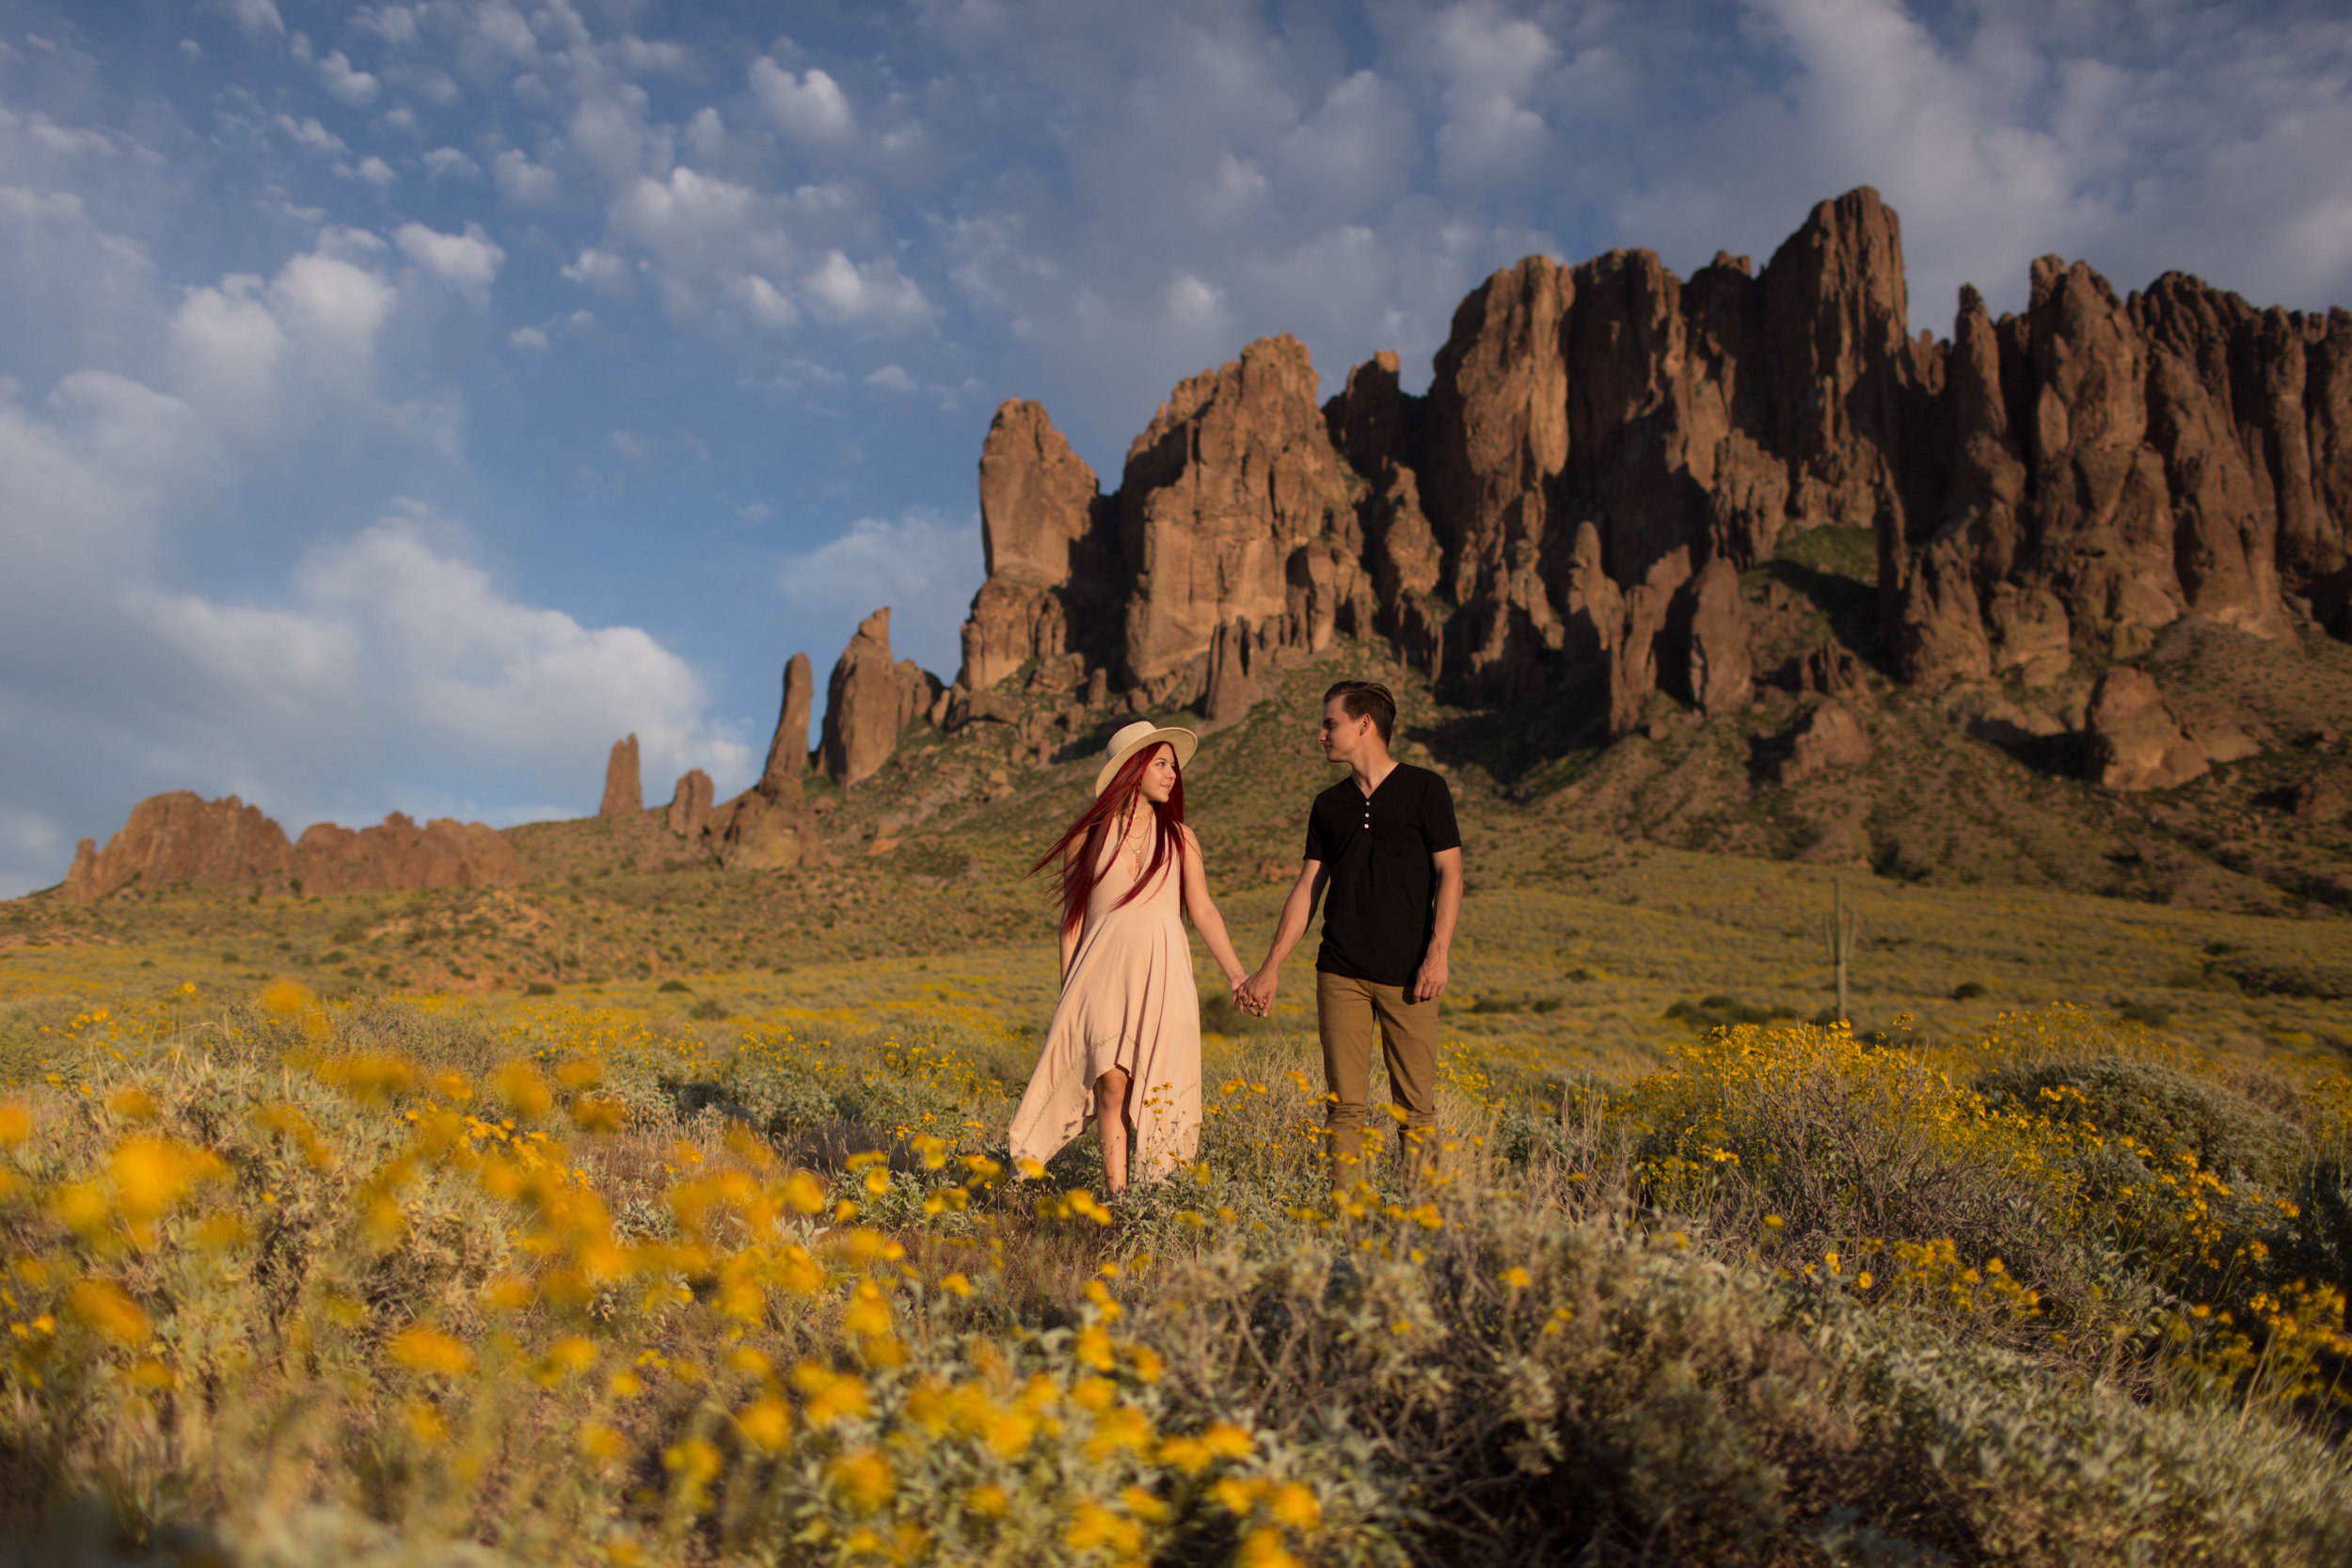
CALDERA - SUNNY +
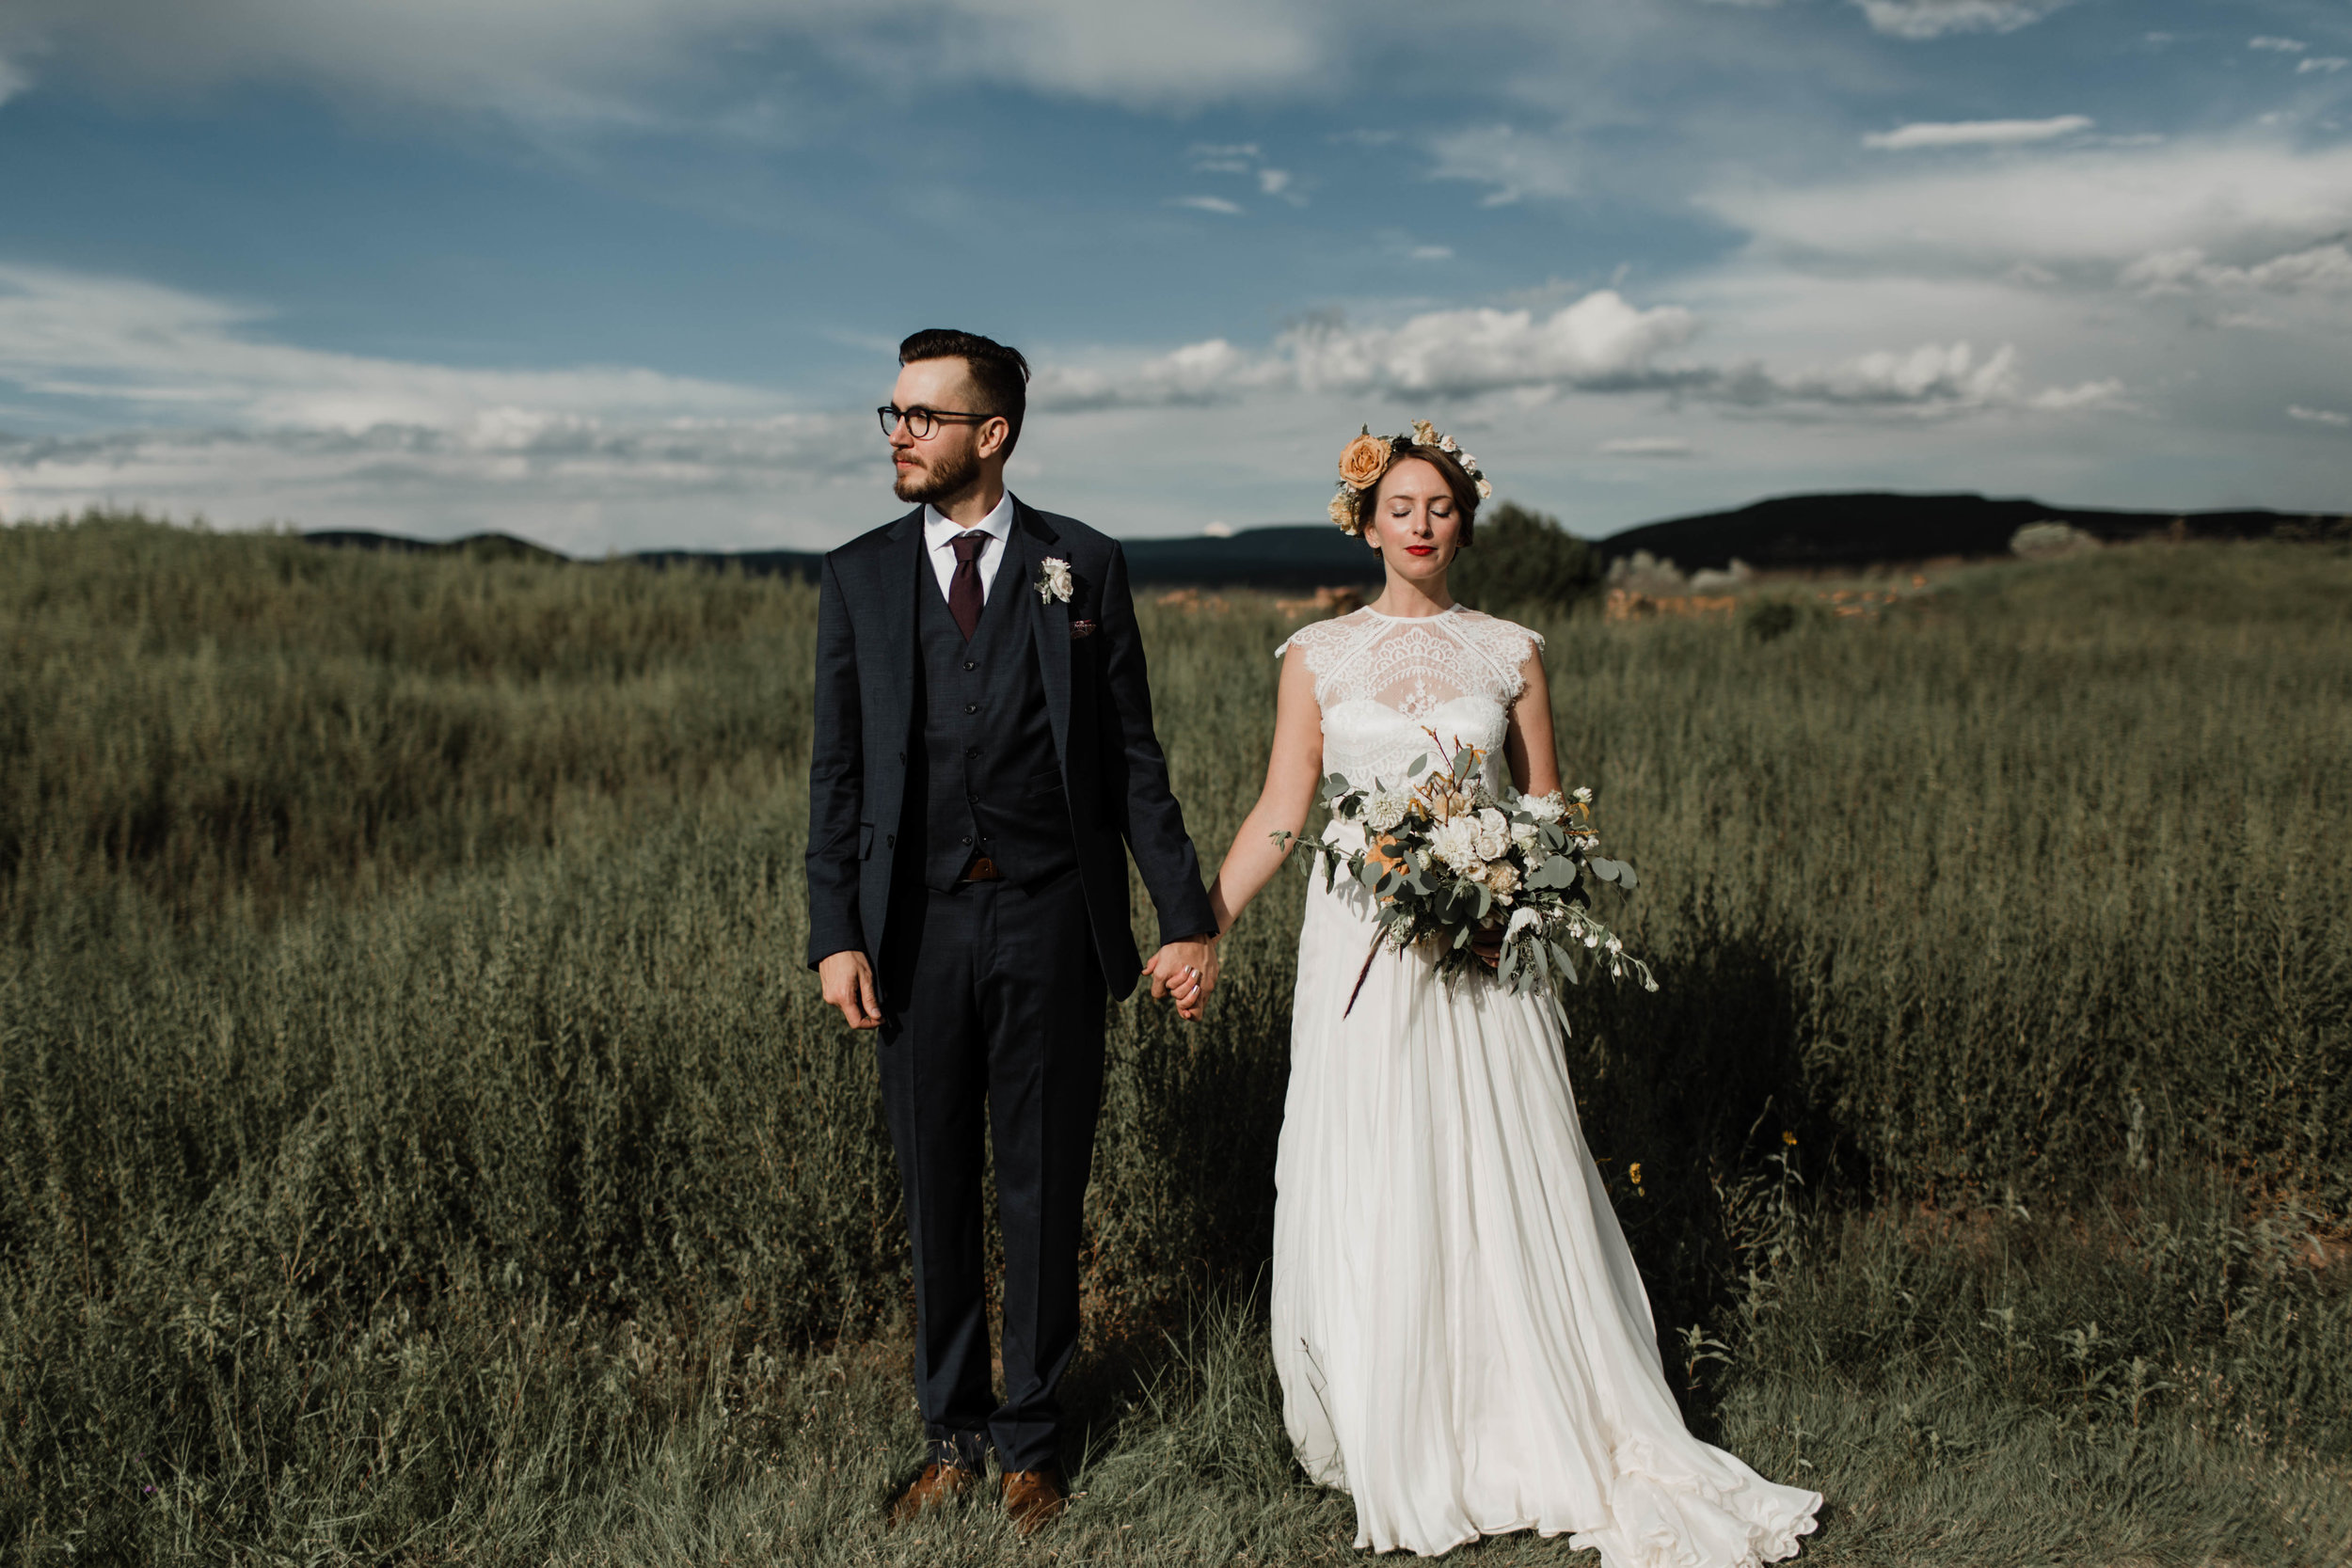
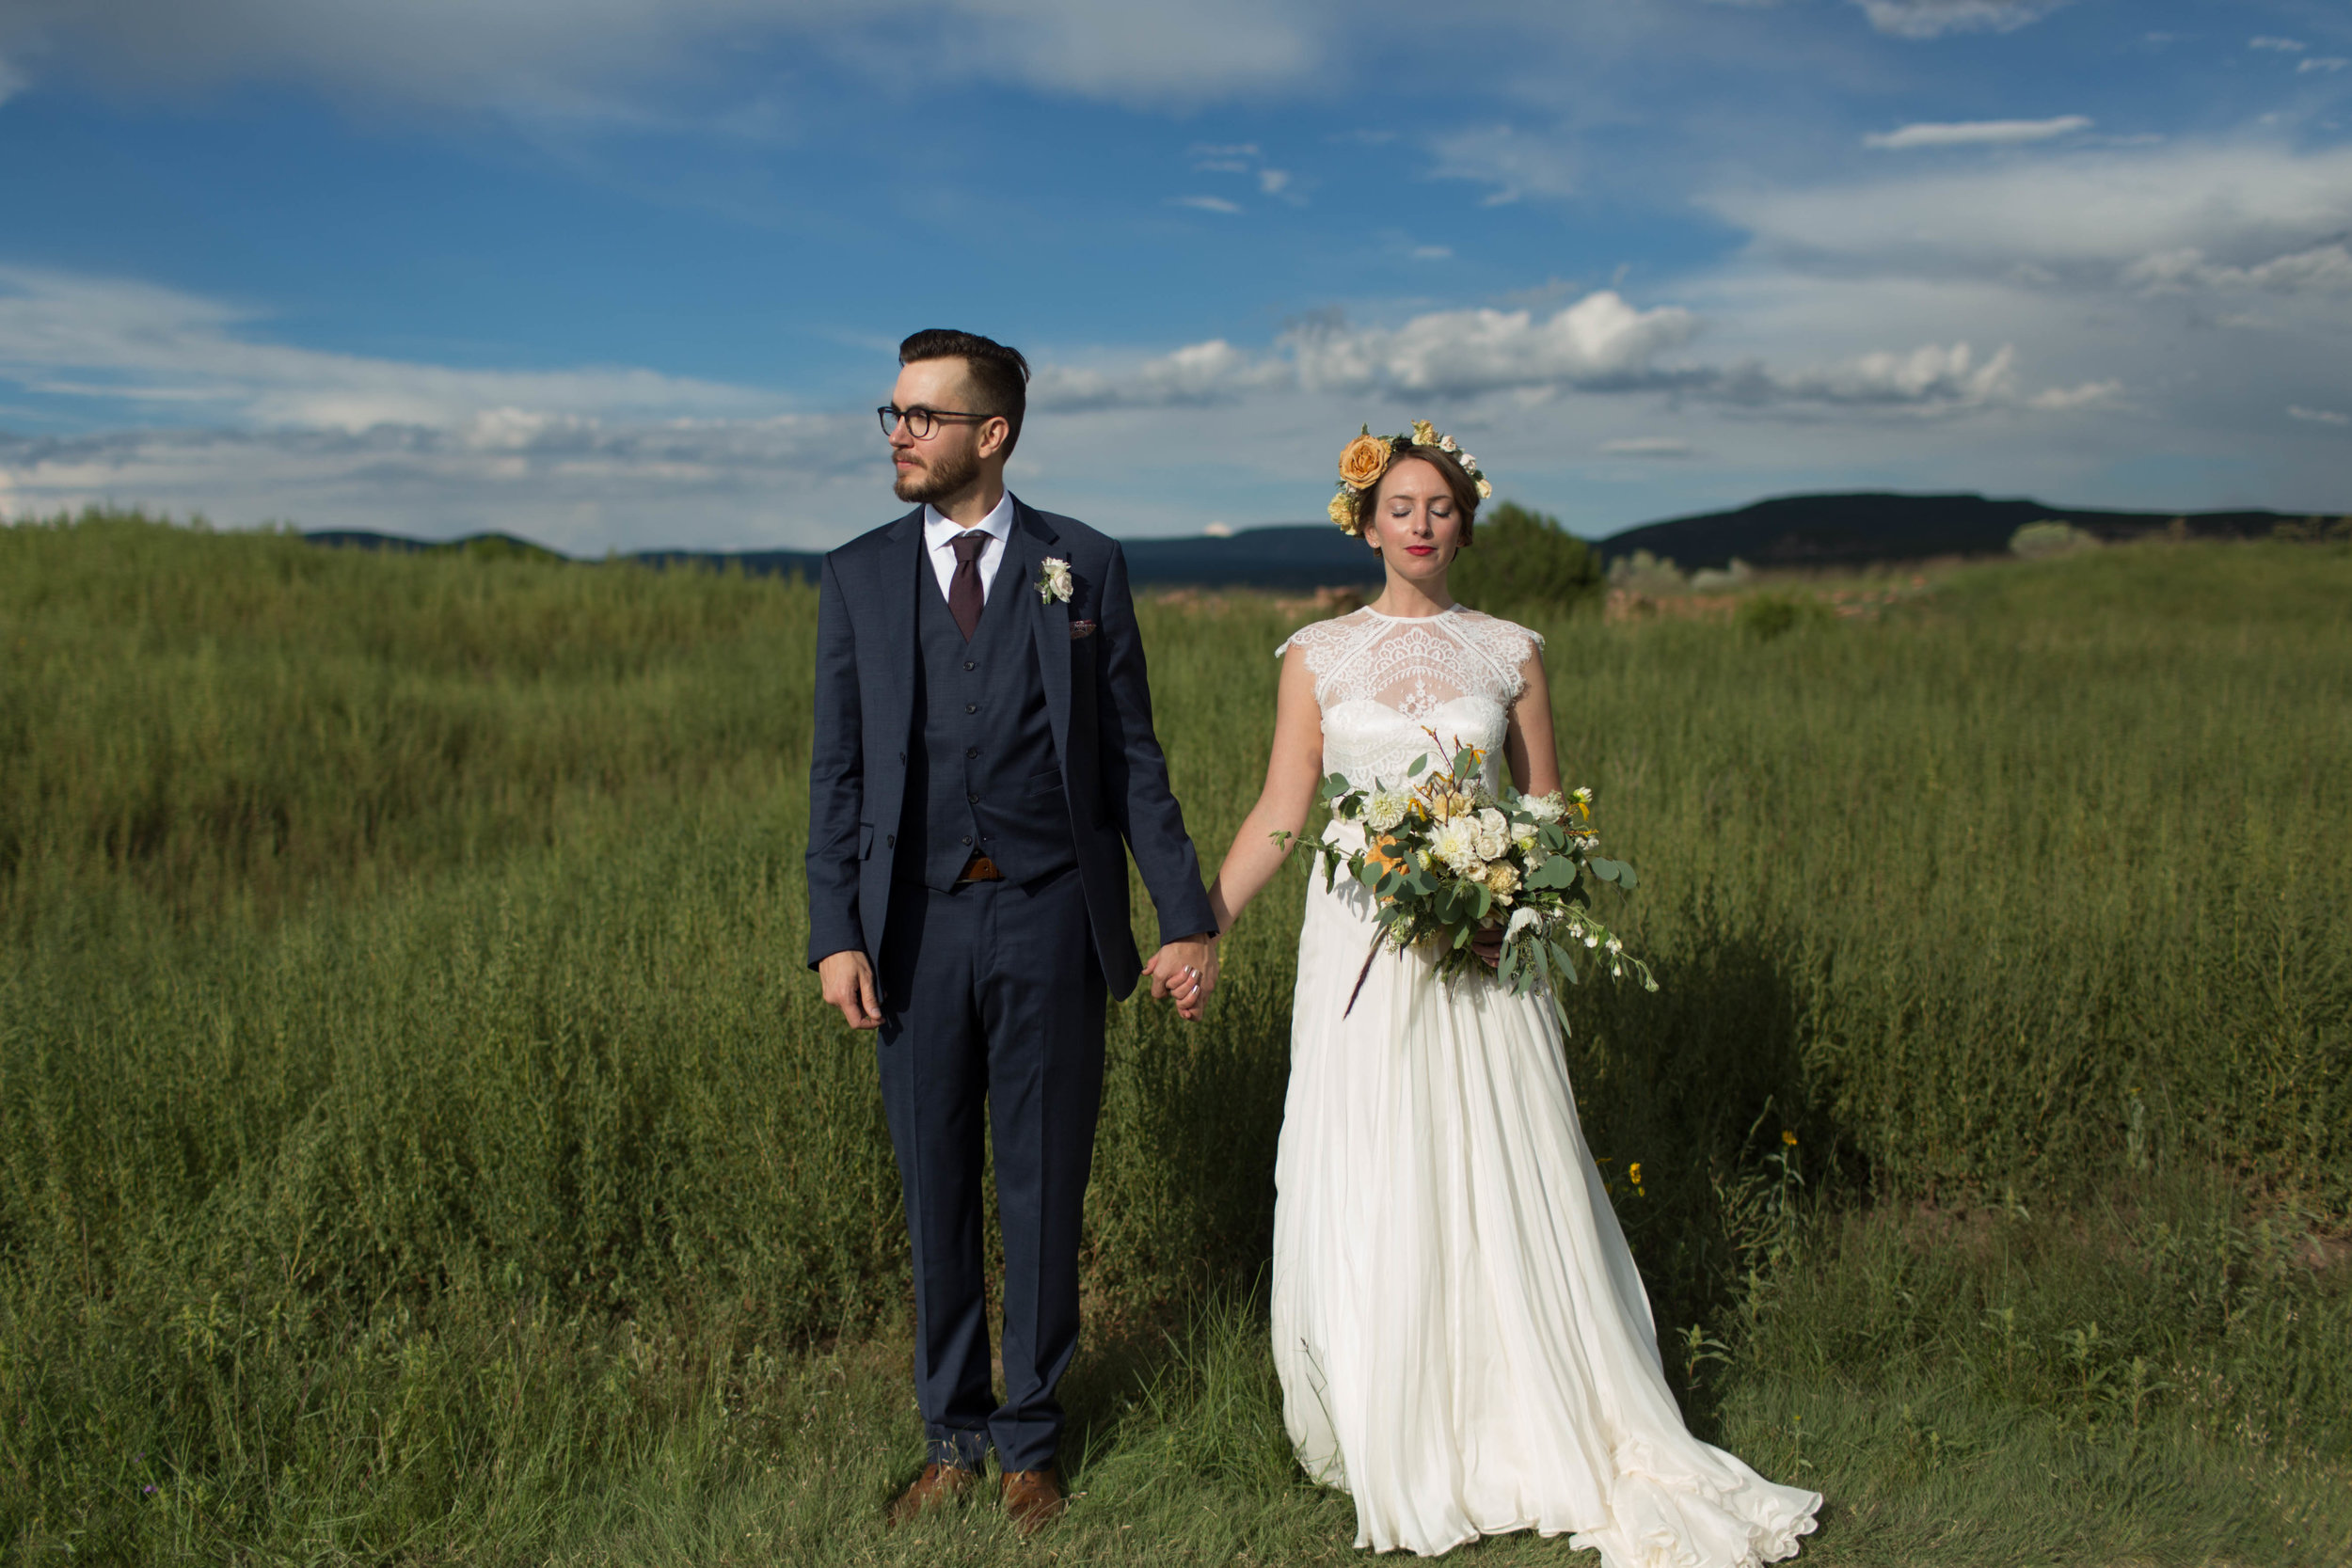
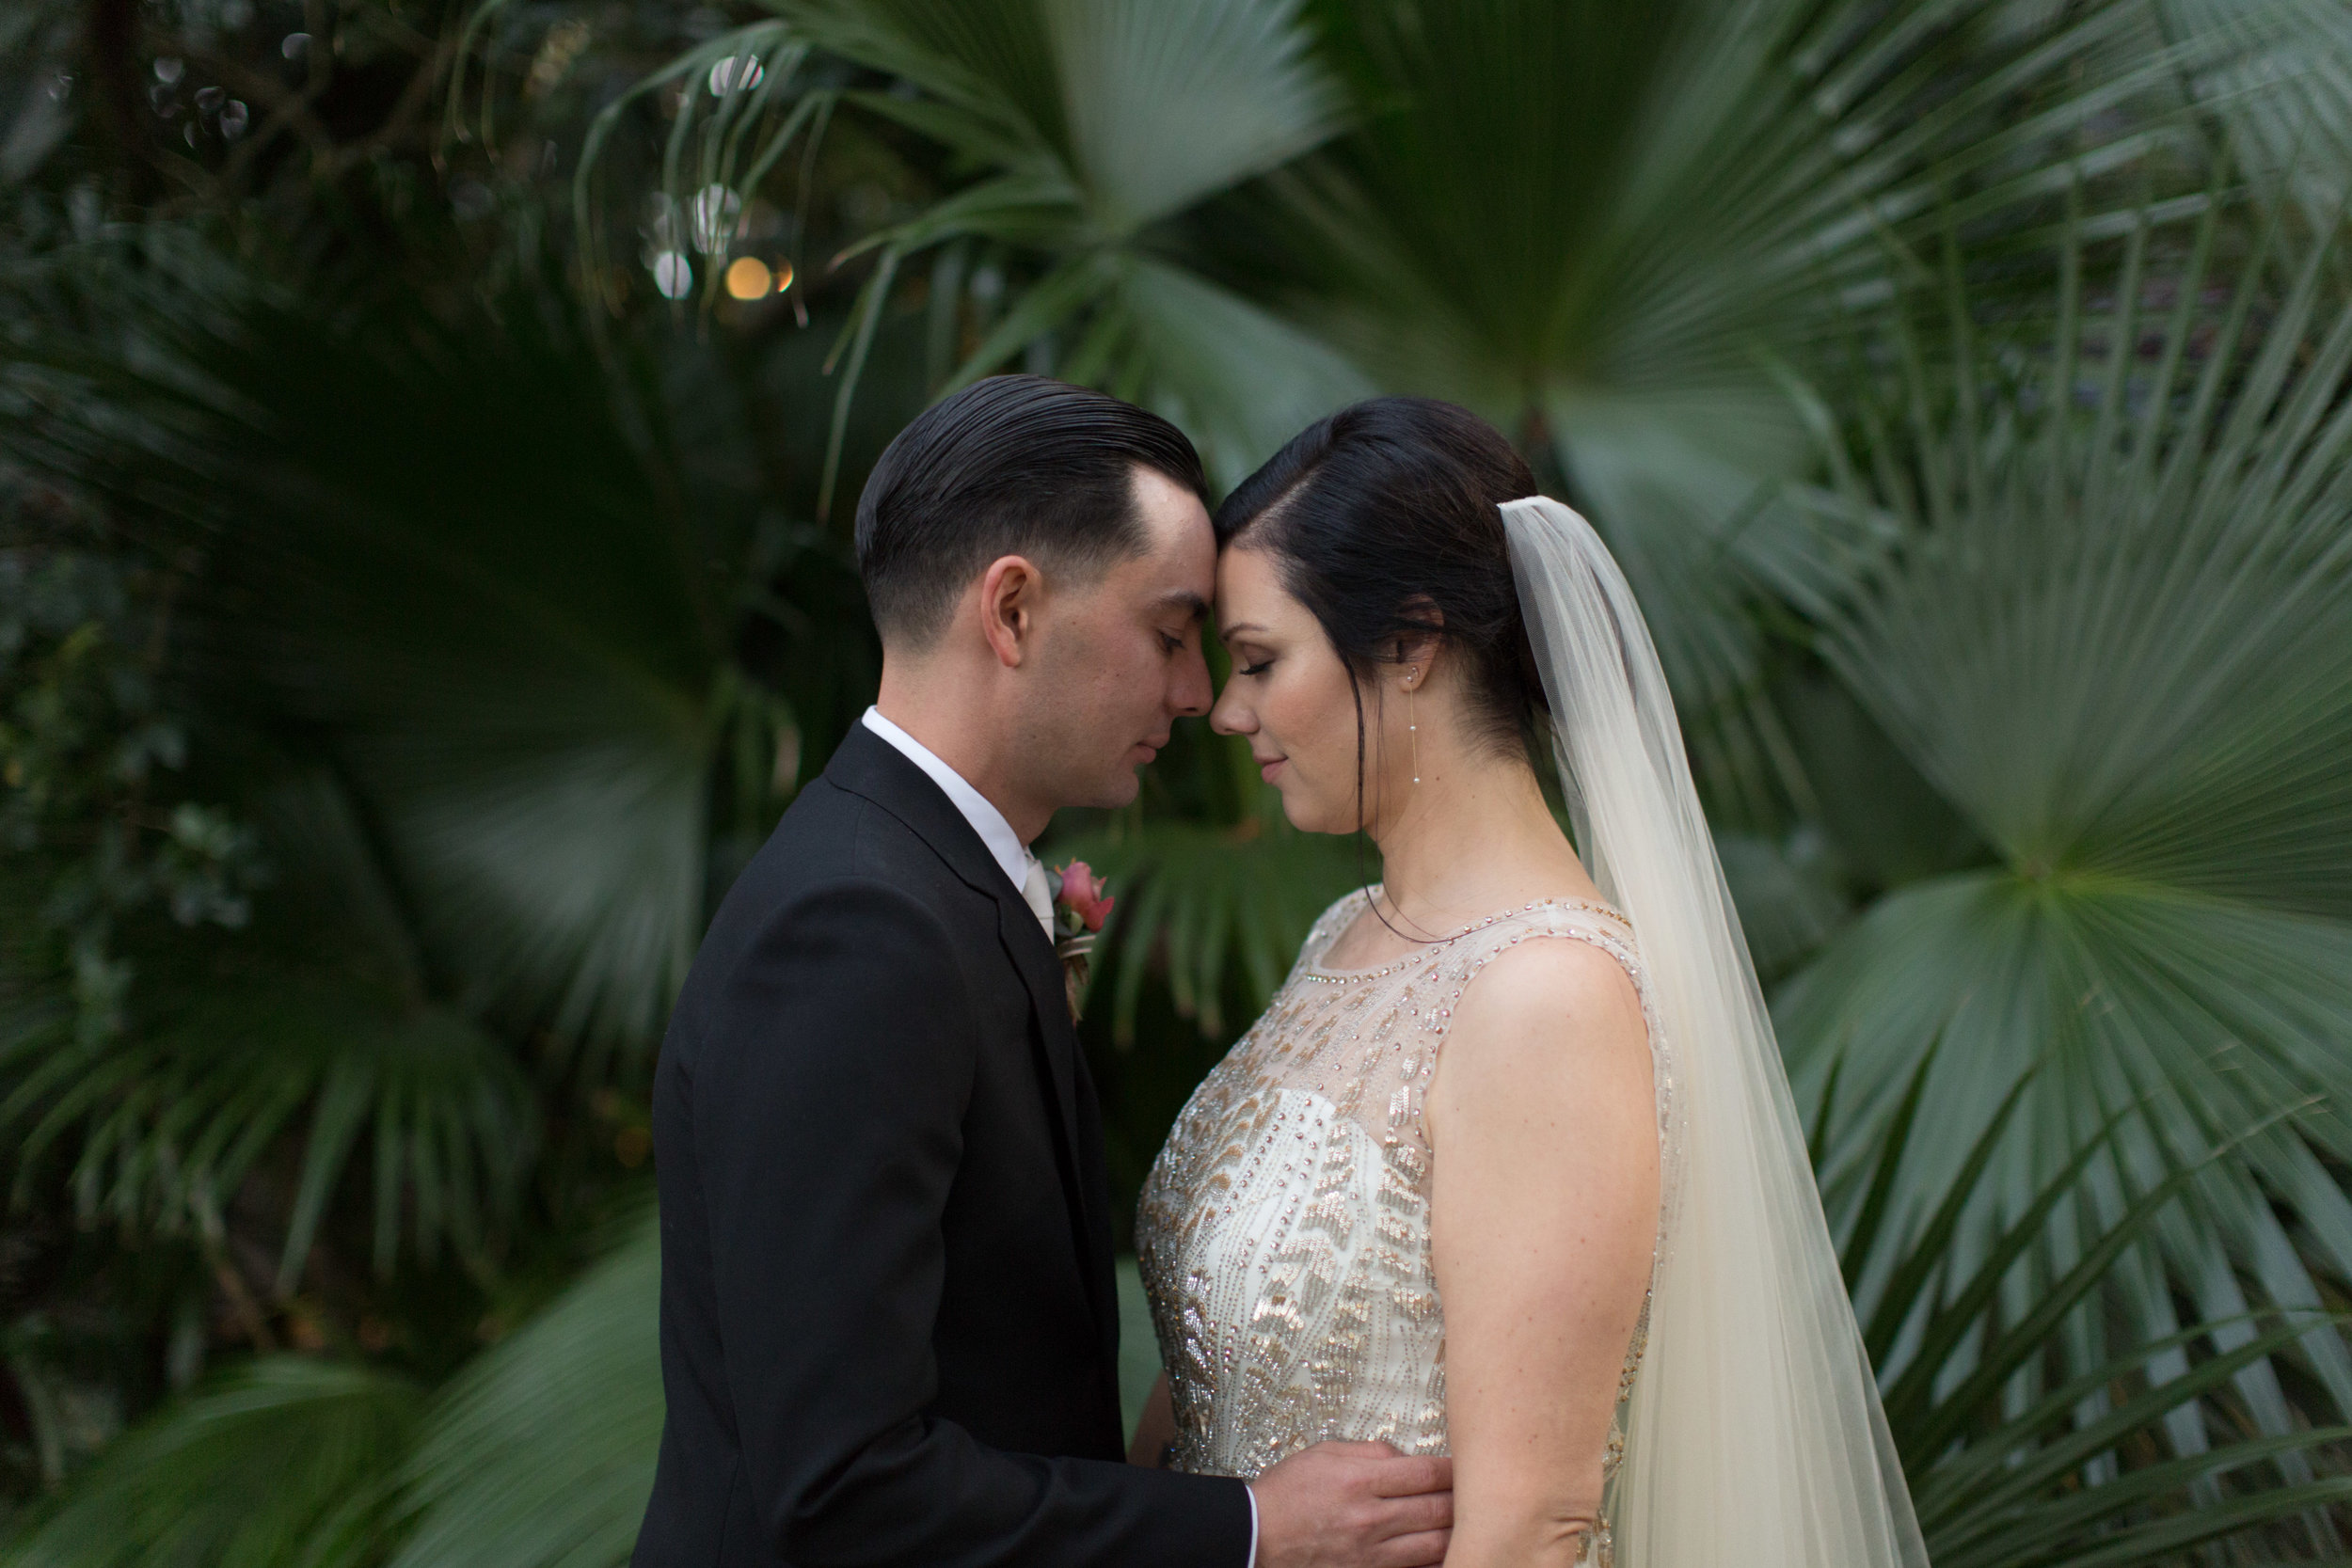
CALDERA - BACKLIT
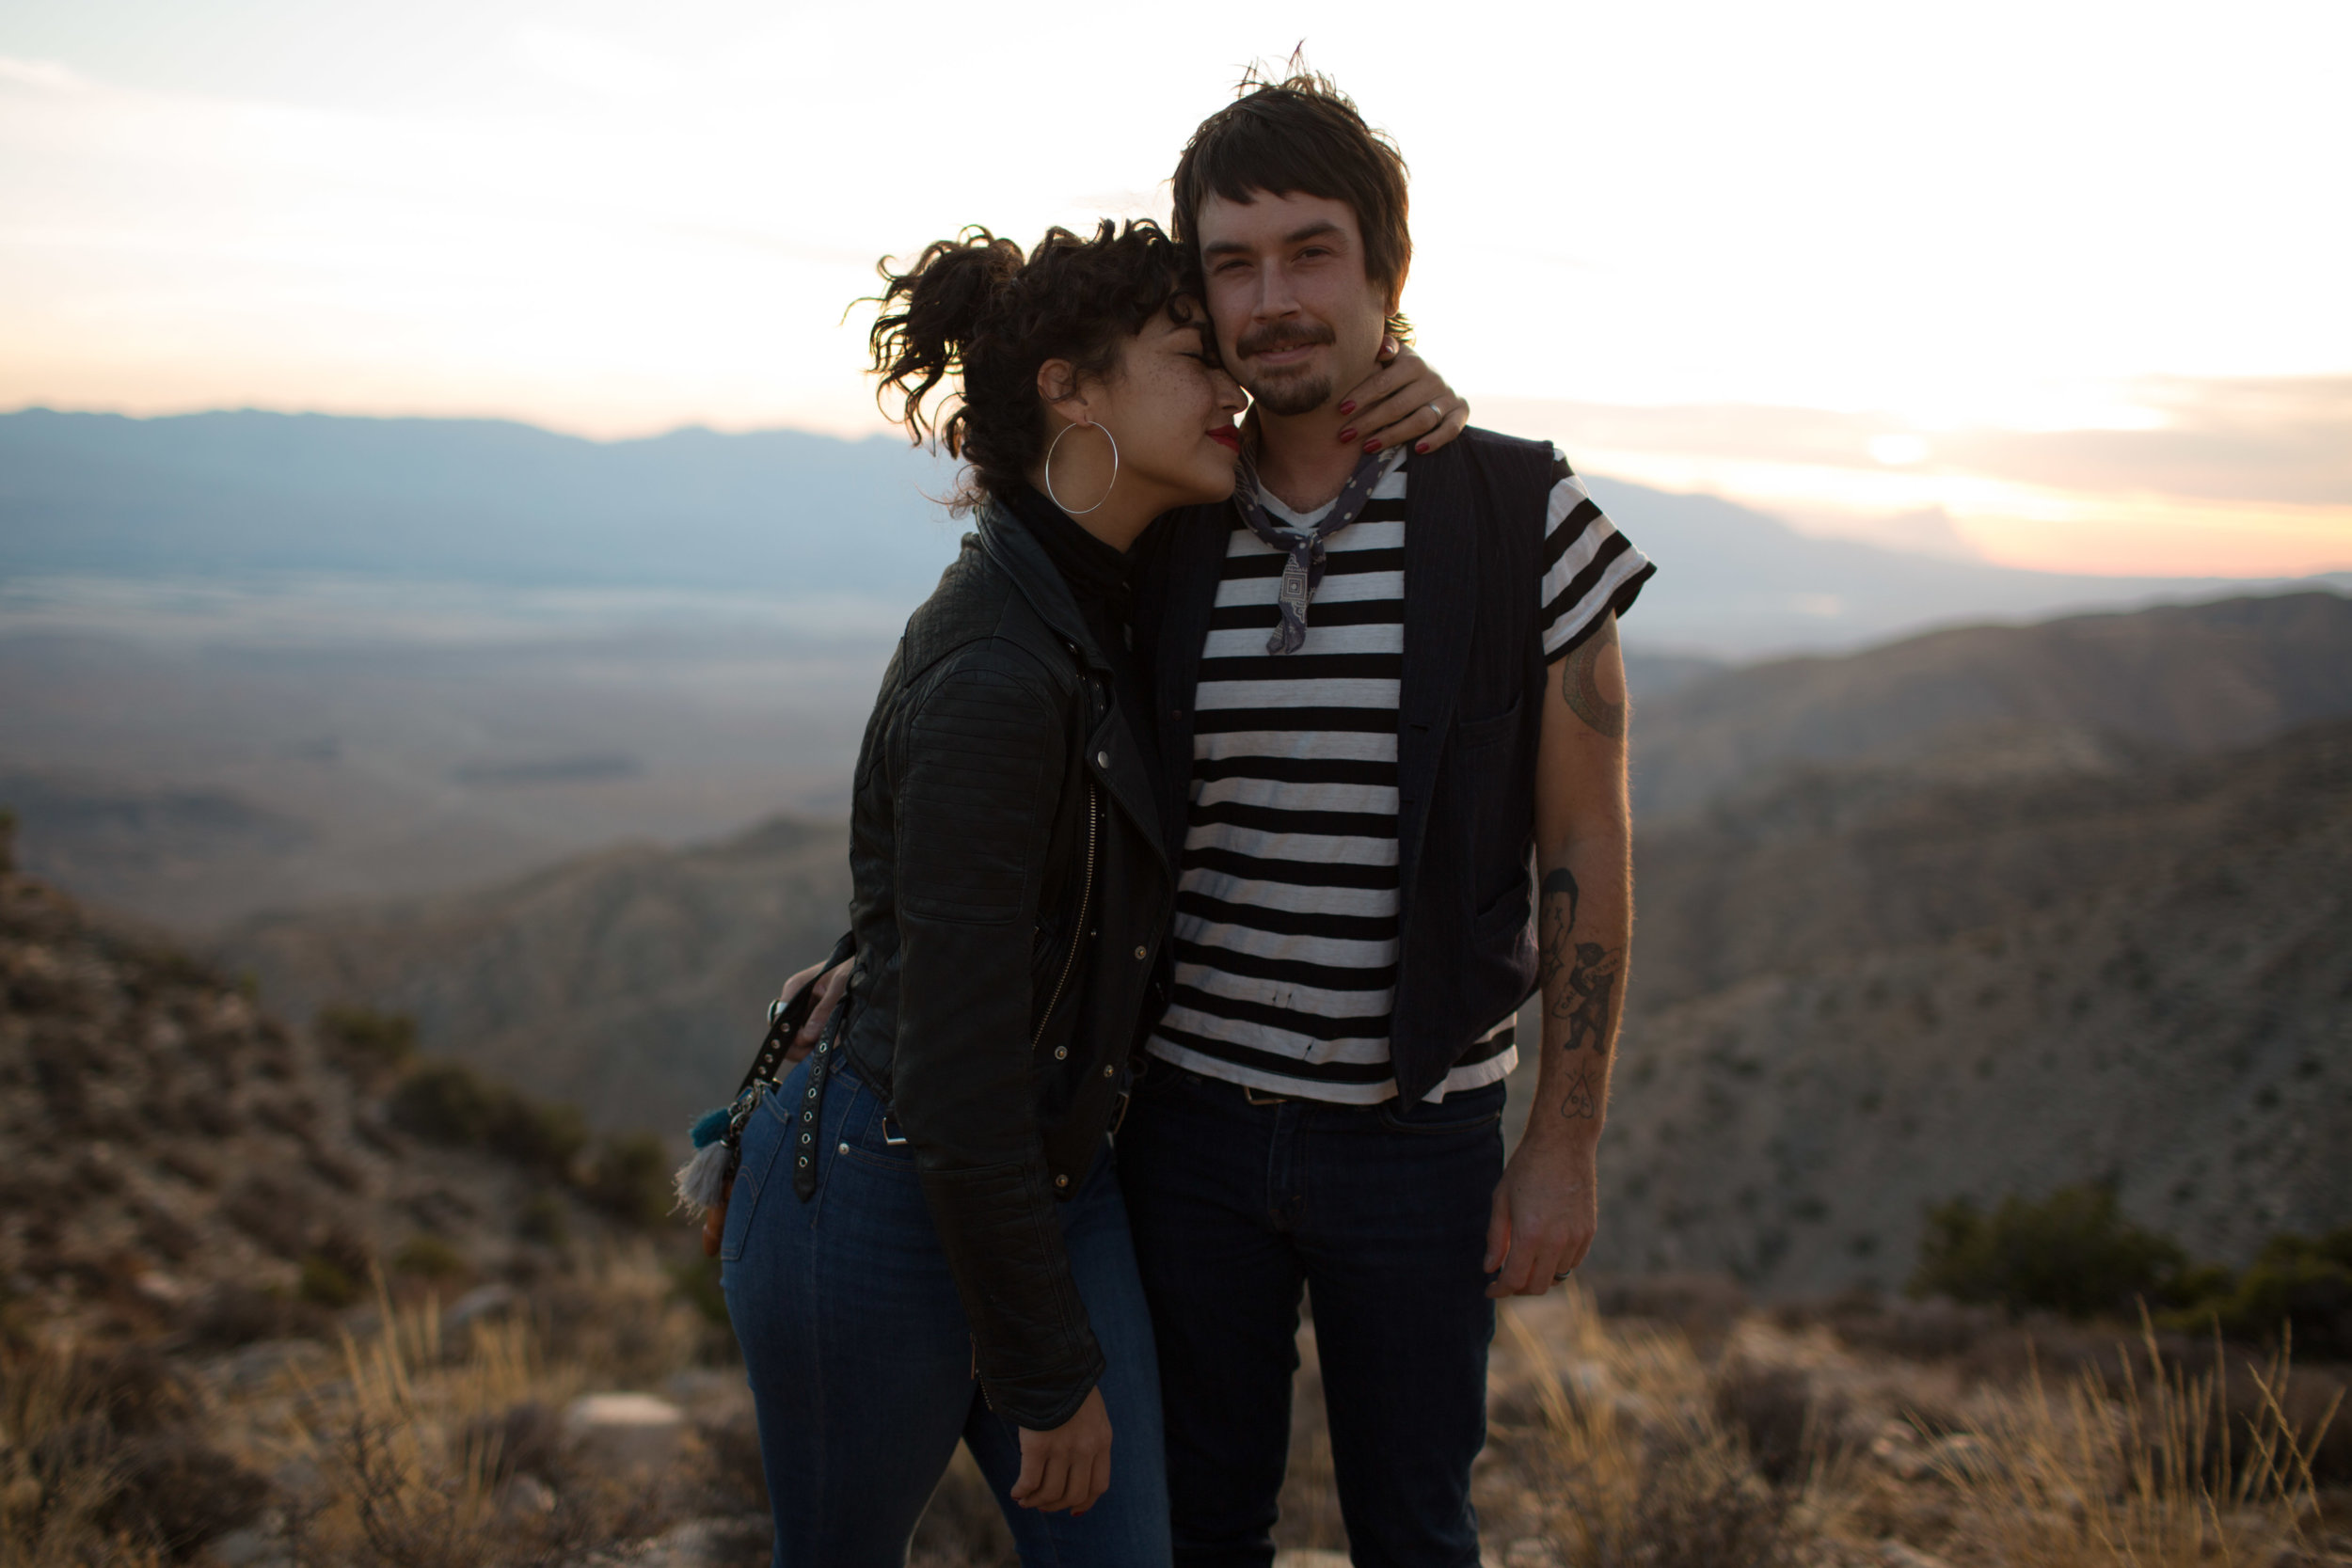
CALDERA - BACKLIT +
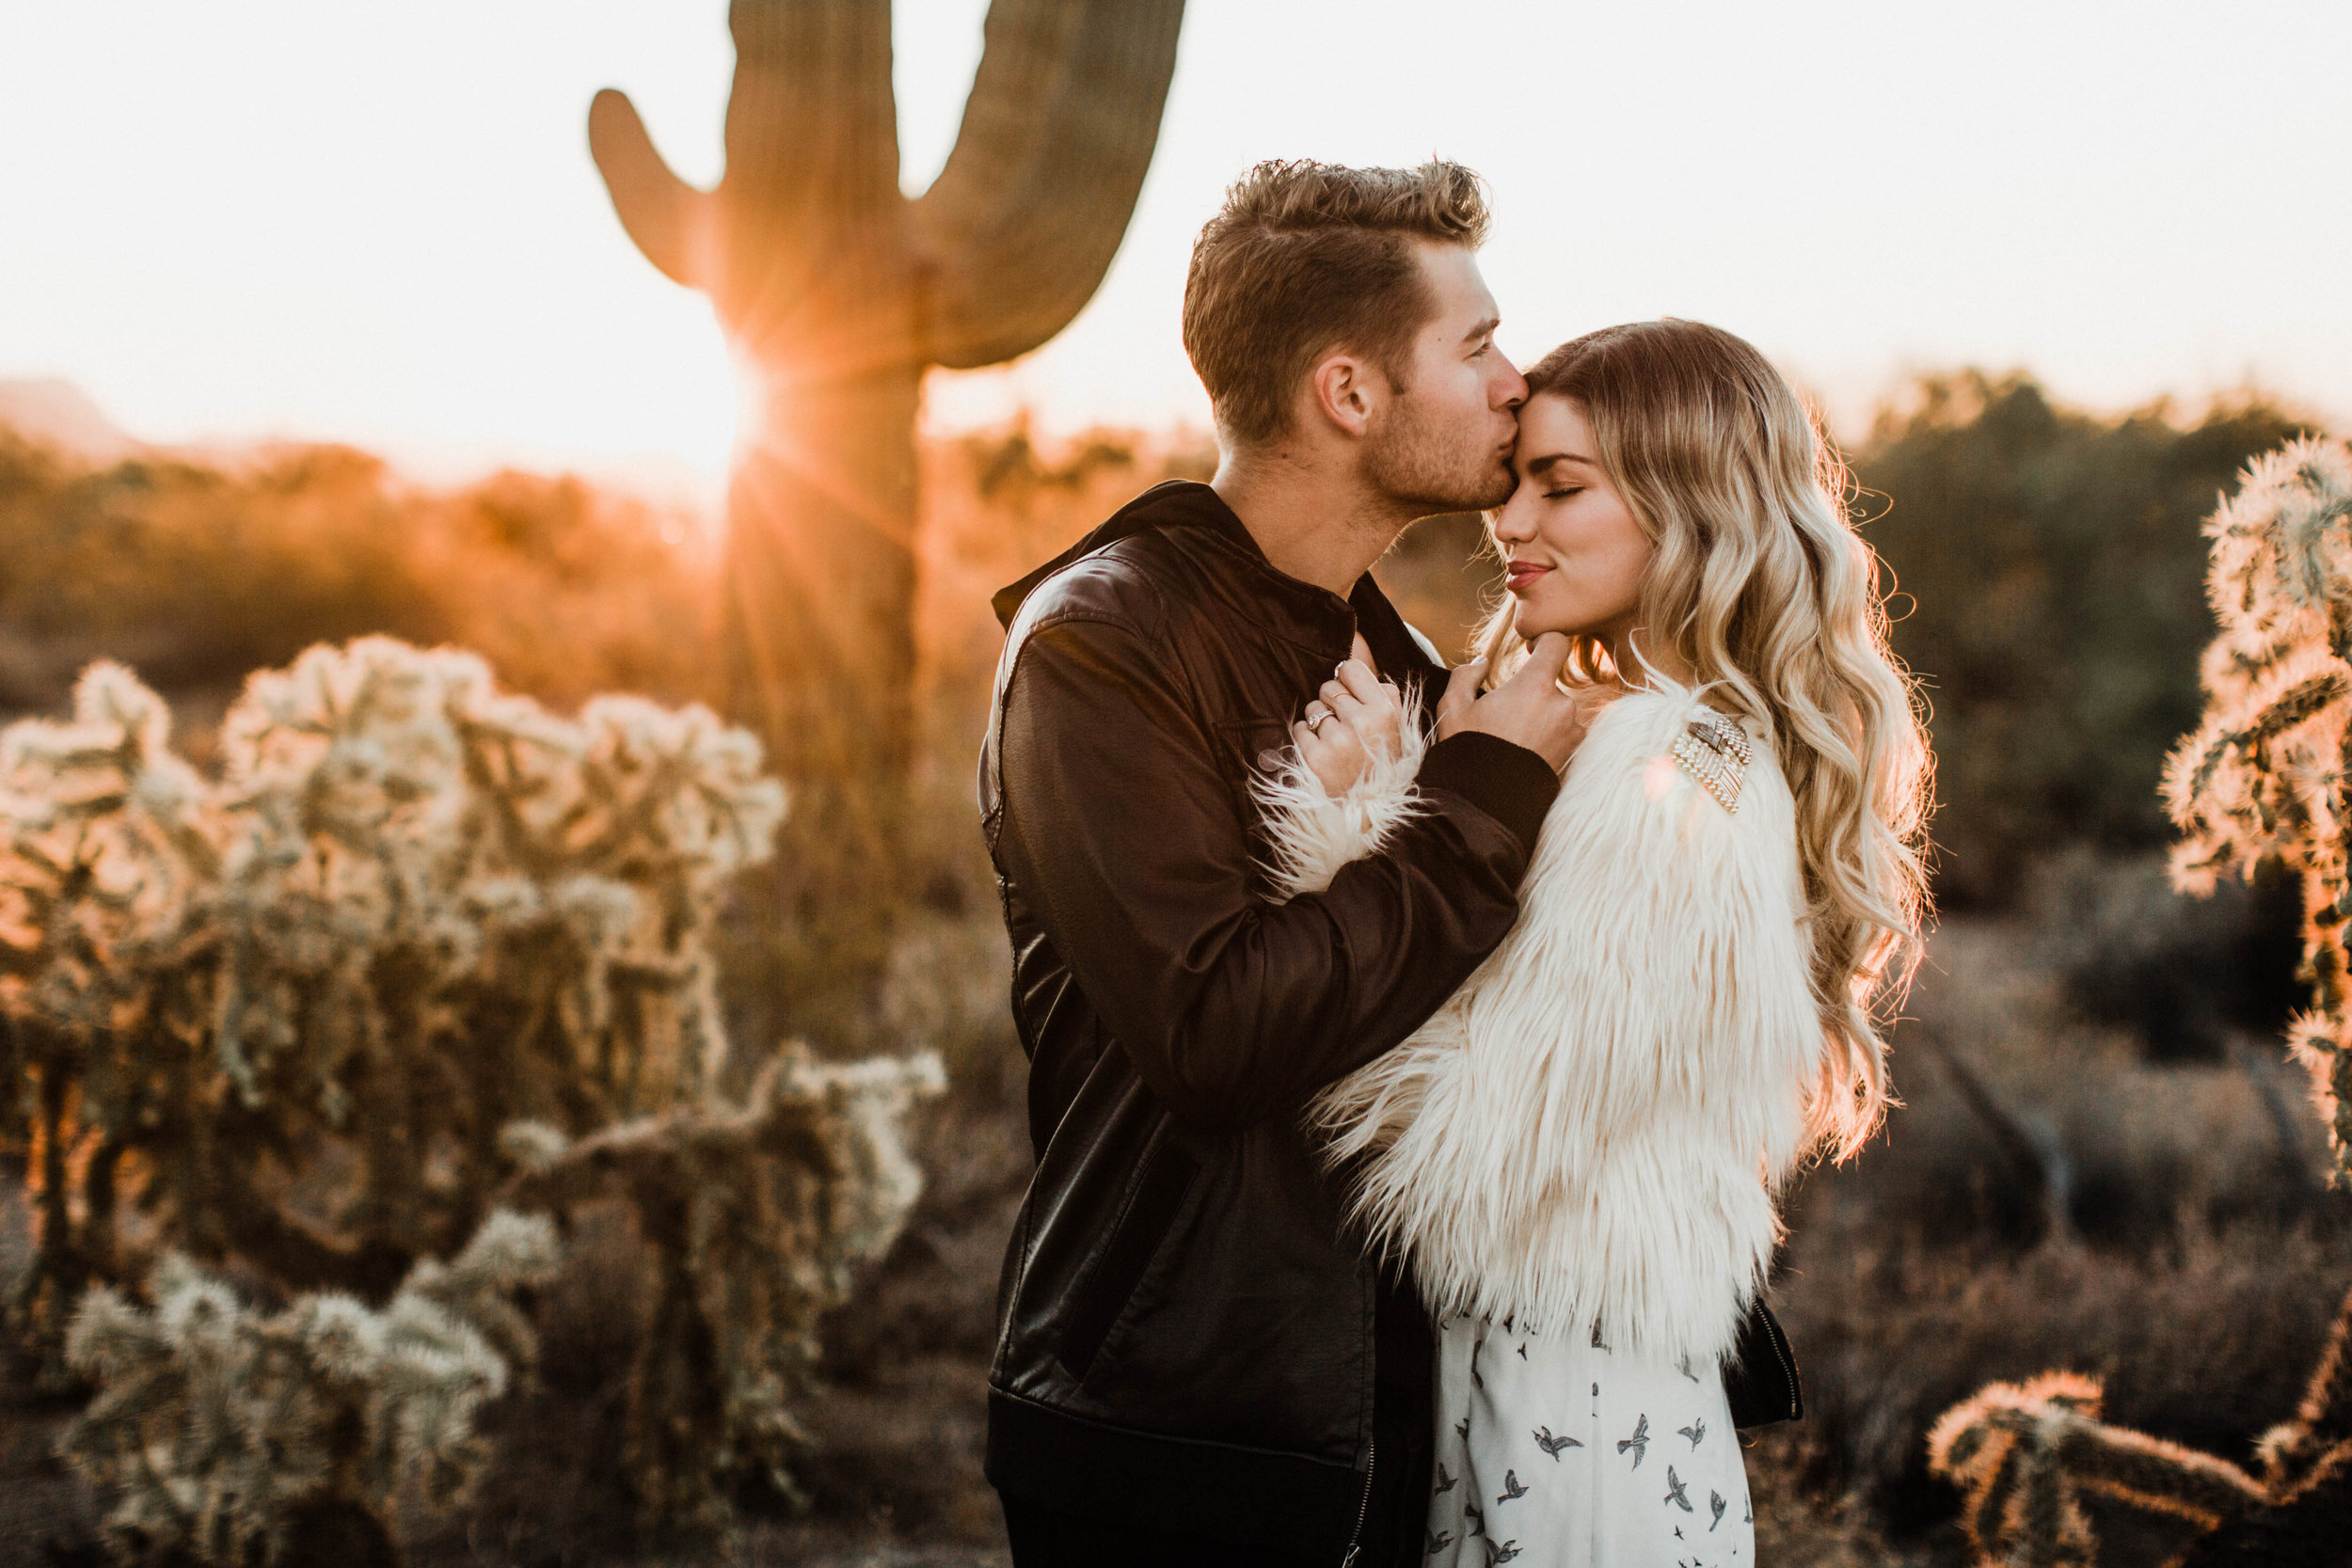

CALDERA - MOODY
CALDERA - MOODY +
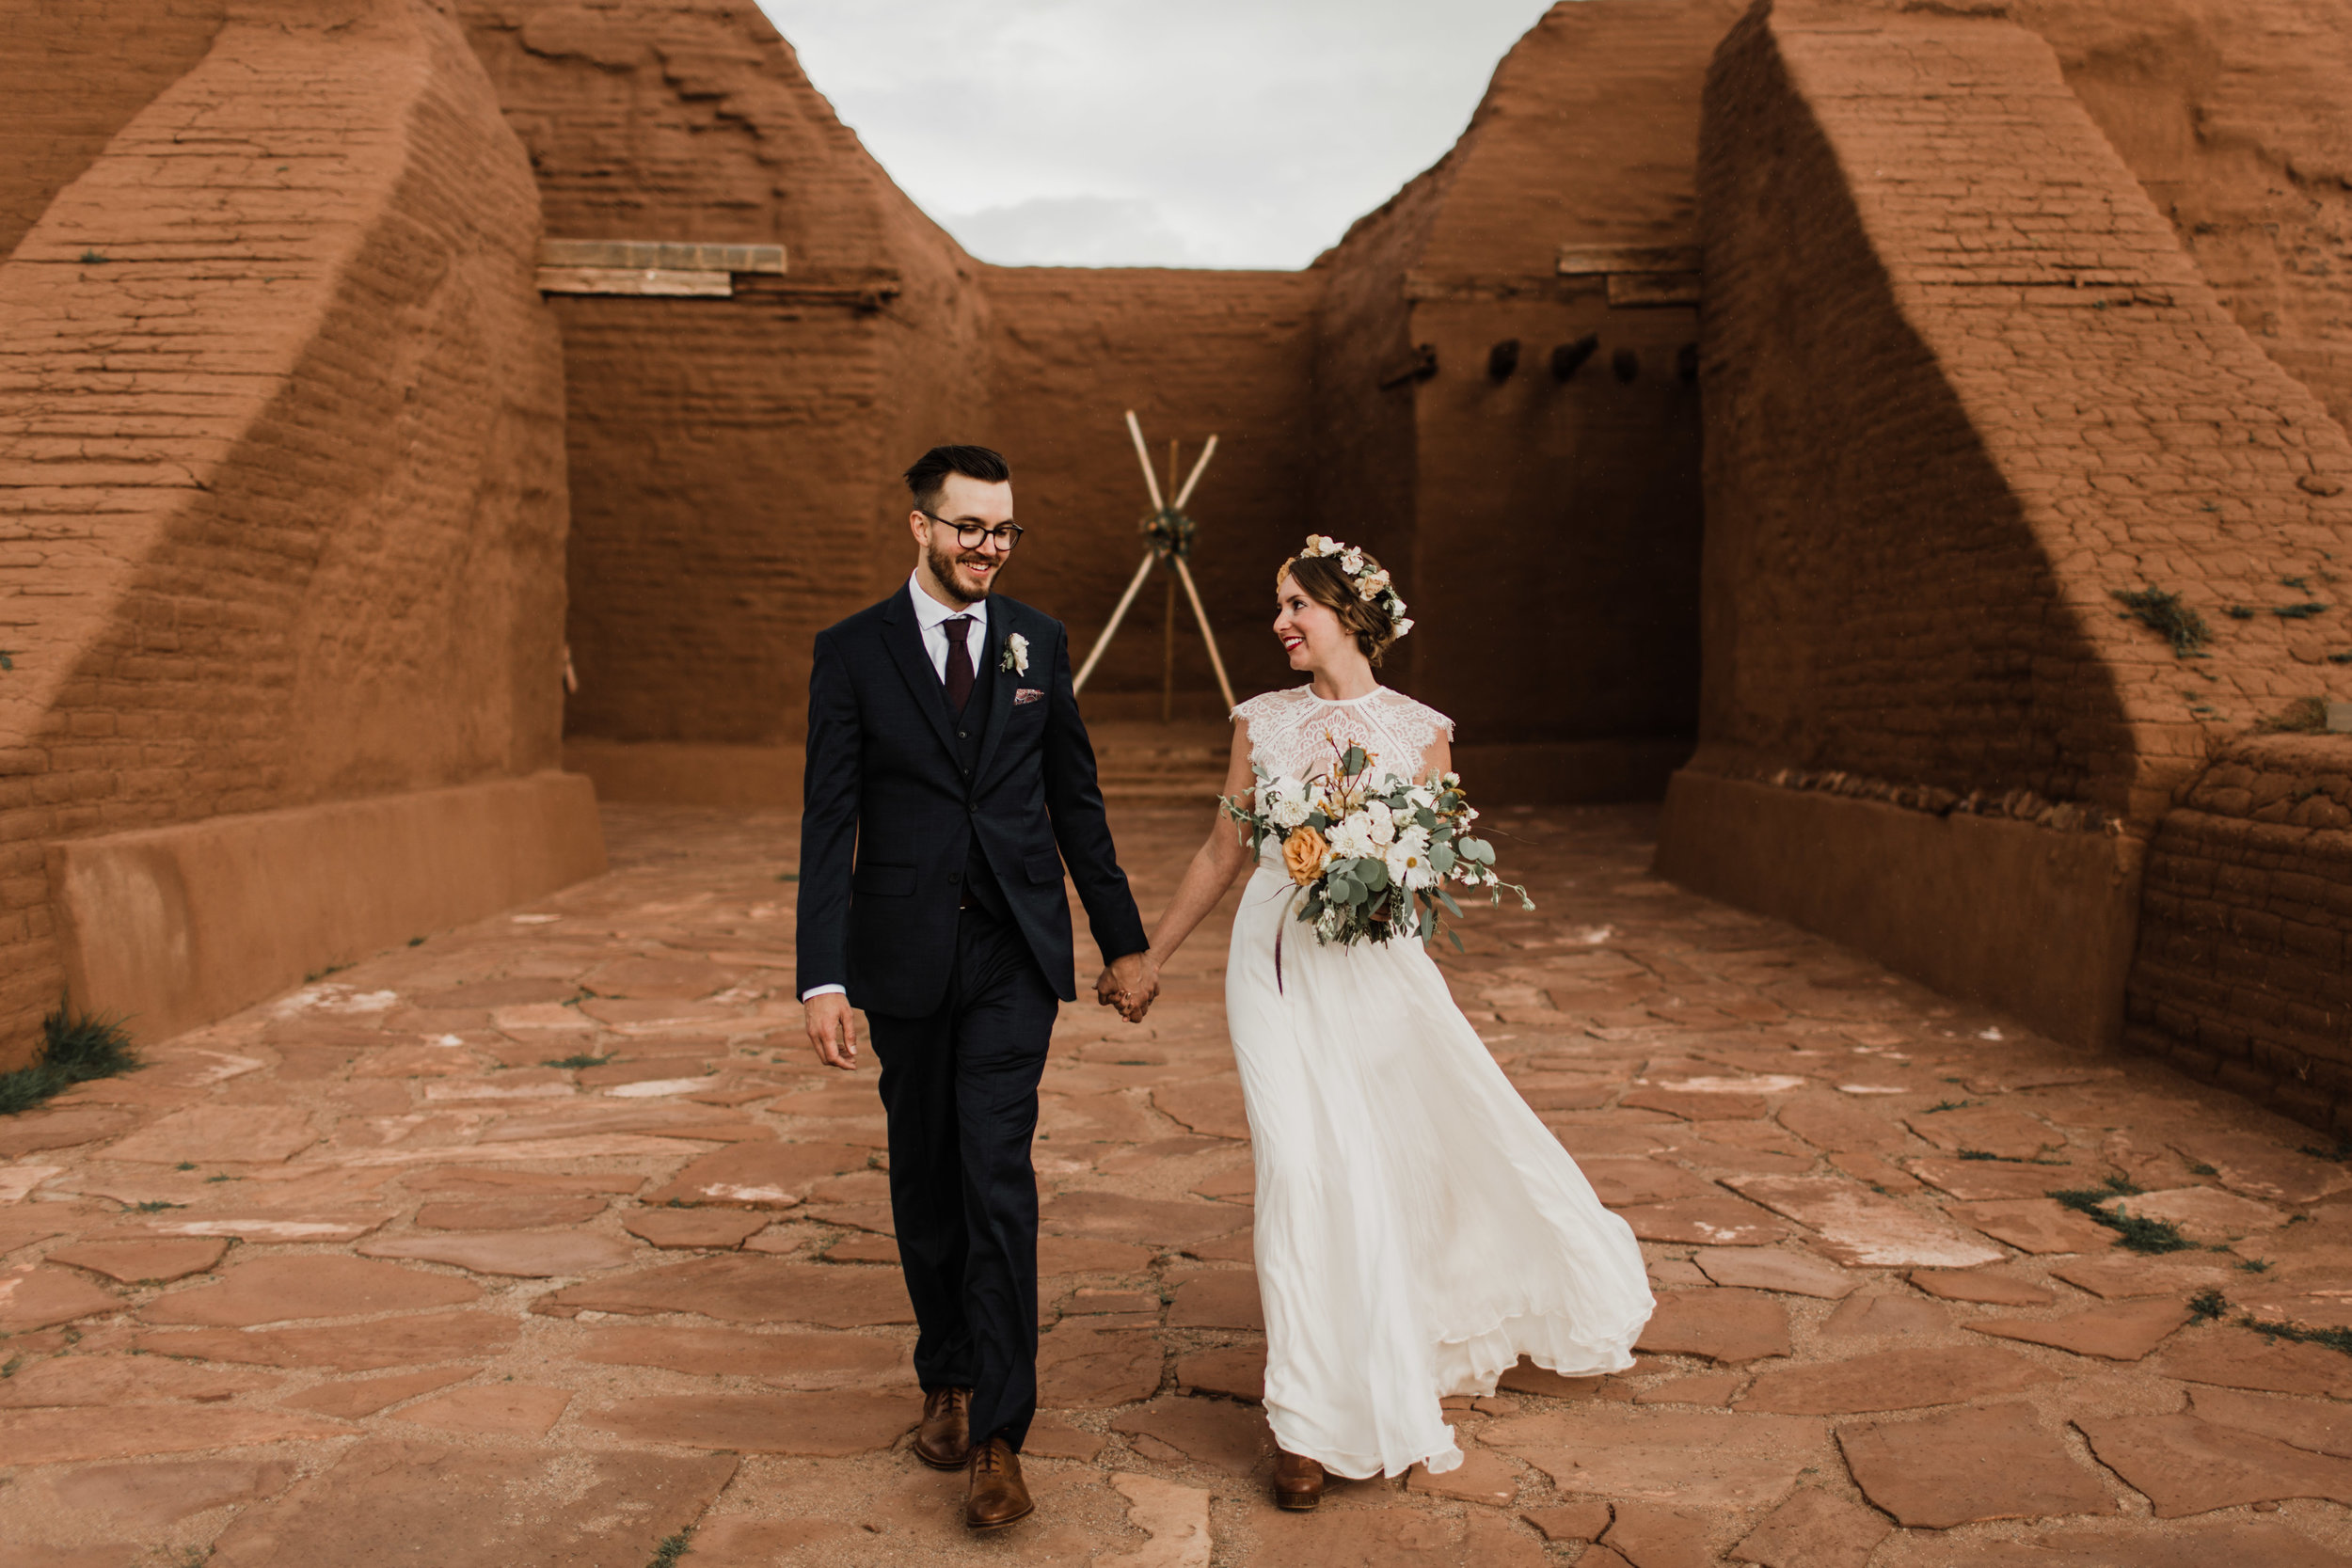
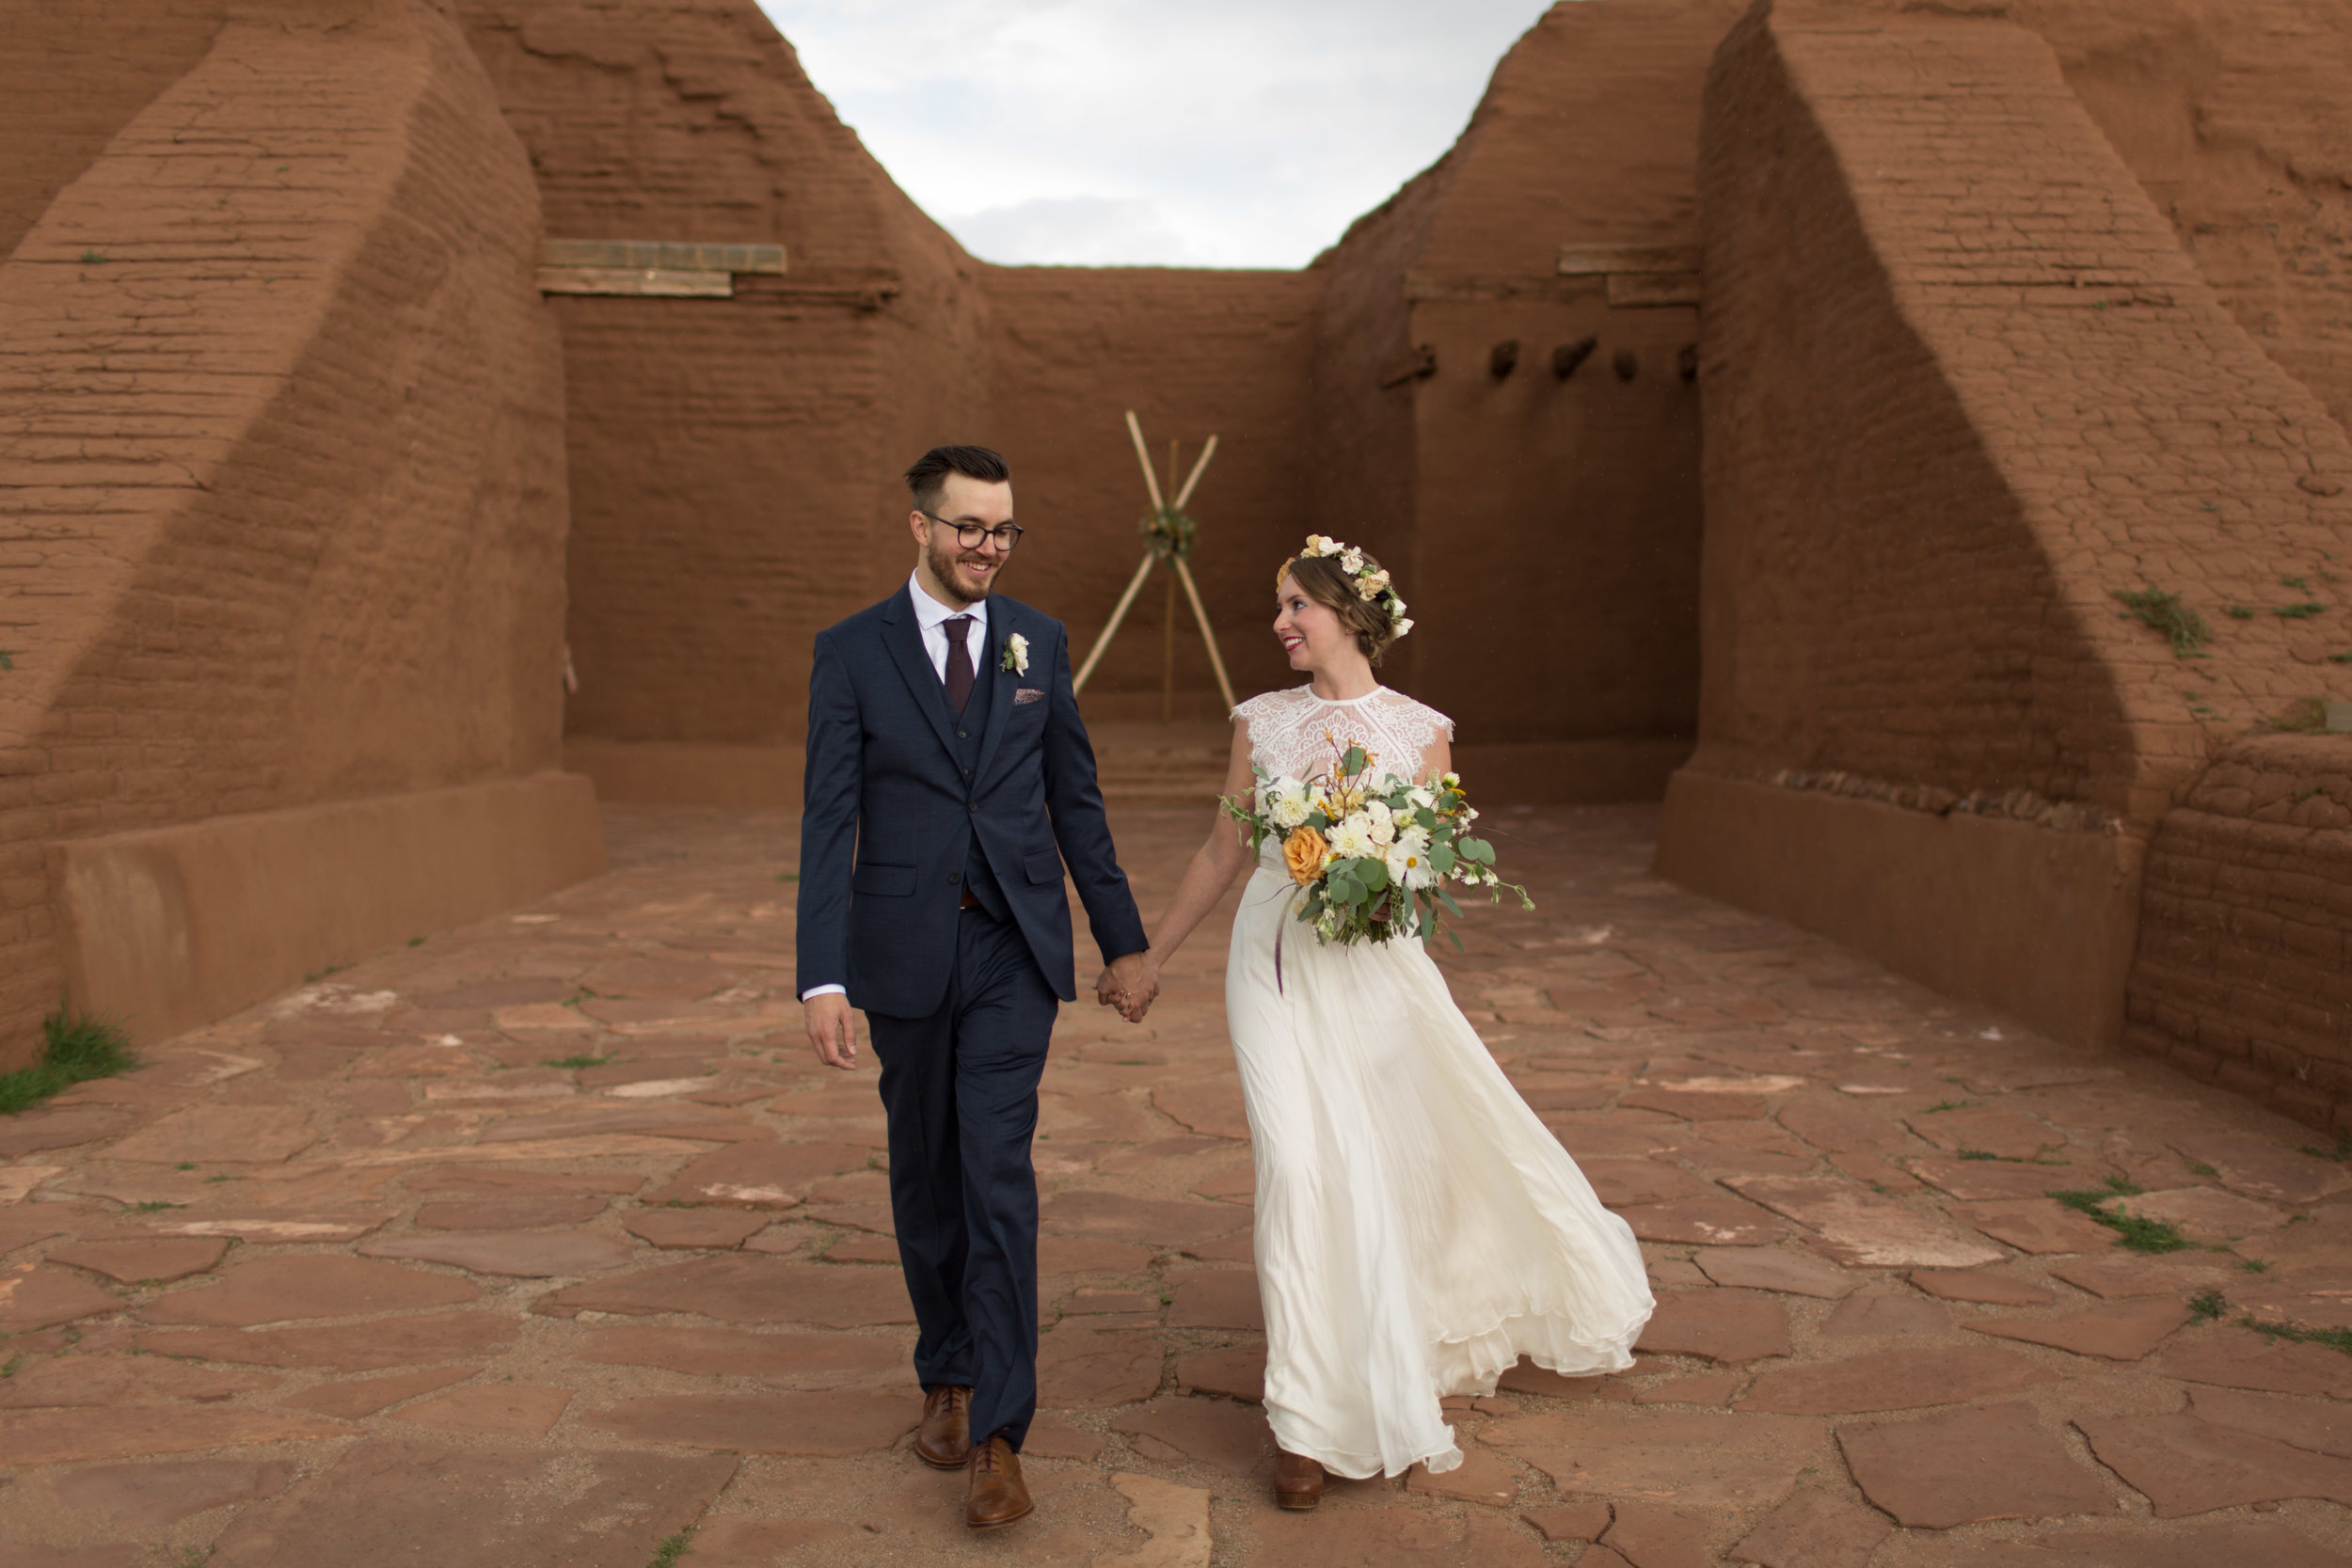
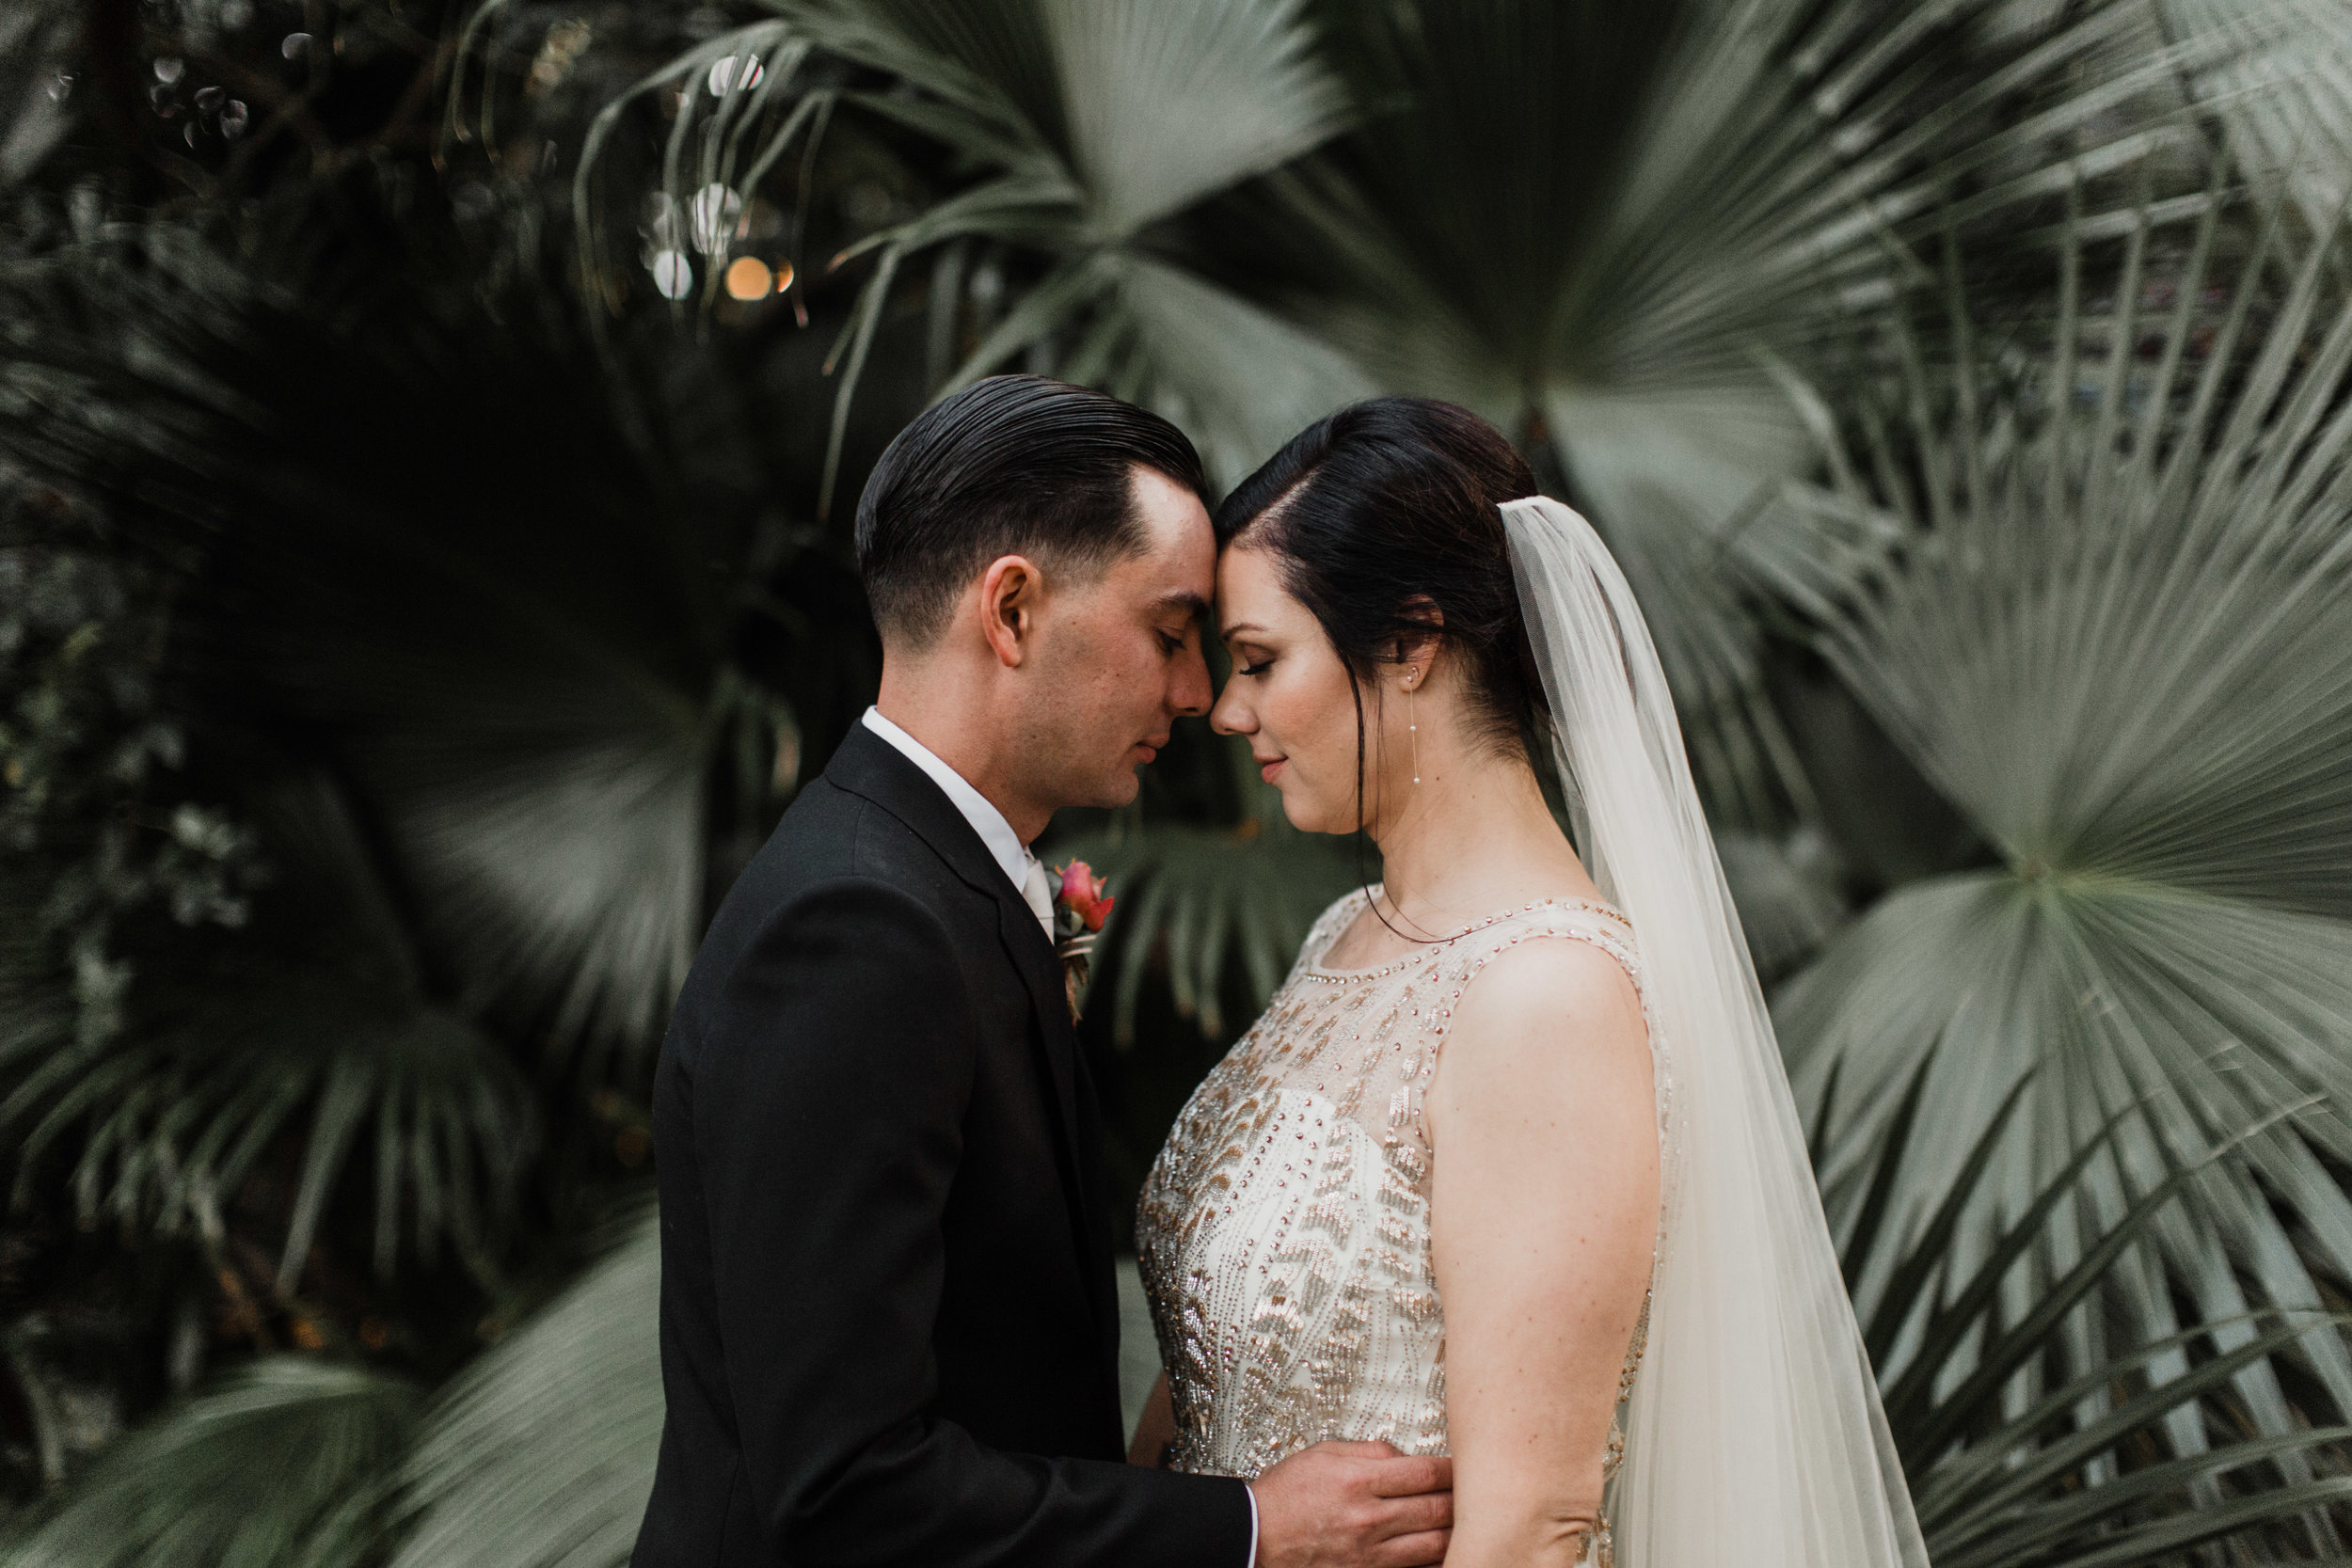
CALDERA - DIFFUSE
CALDERA - DIFFUSE +
CALDERA - FLASH
CALDERA - HIGH ISO
Caldera Preset Pack includes:
- RESET
CALDERA - BACKLIT
CALDERA - BACKLIT +
CALDERA - DIFFUSE
CALDERA - DIFFUSE +
CALDERA - FLASH
CALDERA - HIGH ISO
CALDERA - MOODY
CALDERA - MOODY +
CALDERA - SUNNY
CALDERA - SUNNY +
*Caldera Presets were designed for Adobe Lightroom Classic & Photoshop CC
Click here to buy our presets!
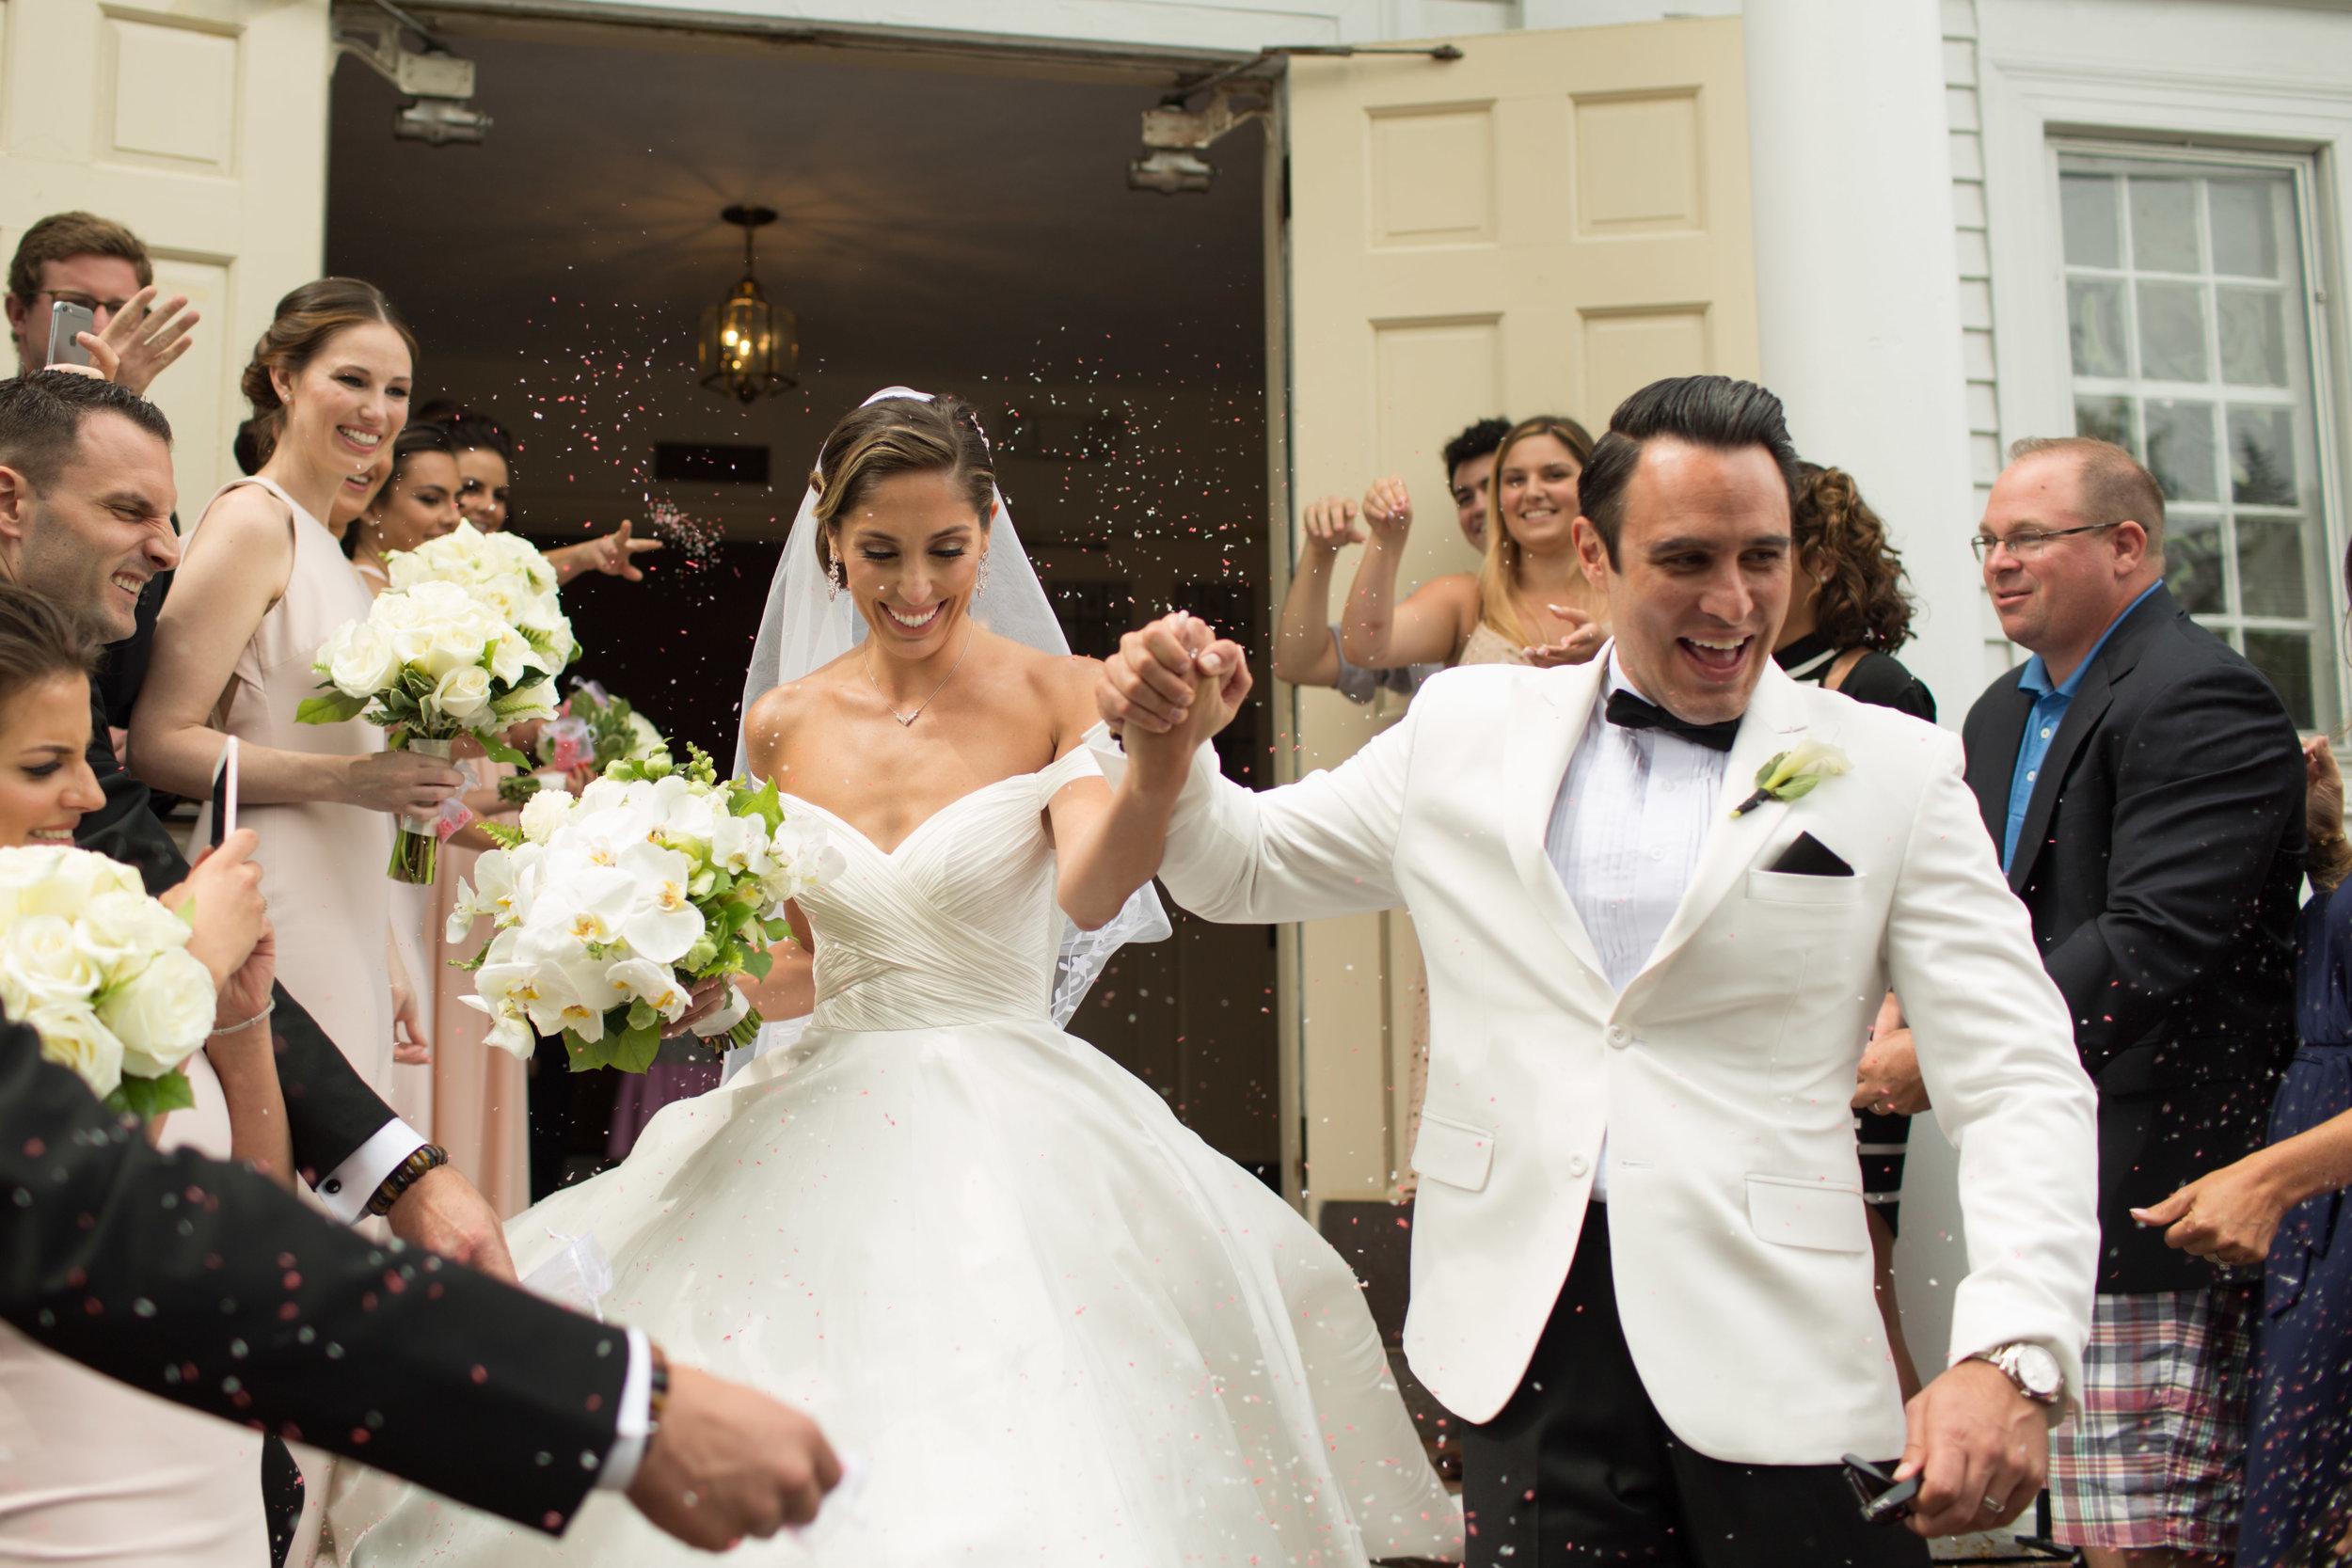
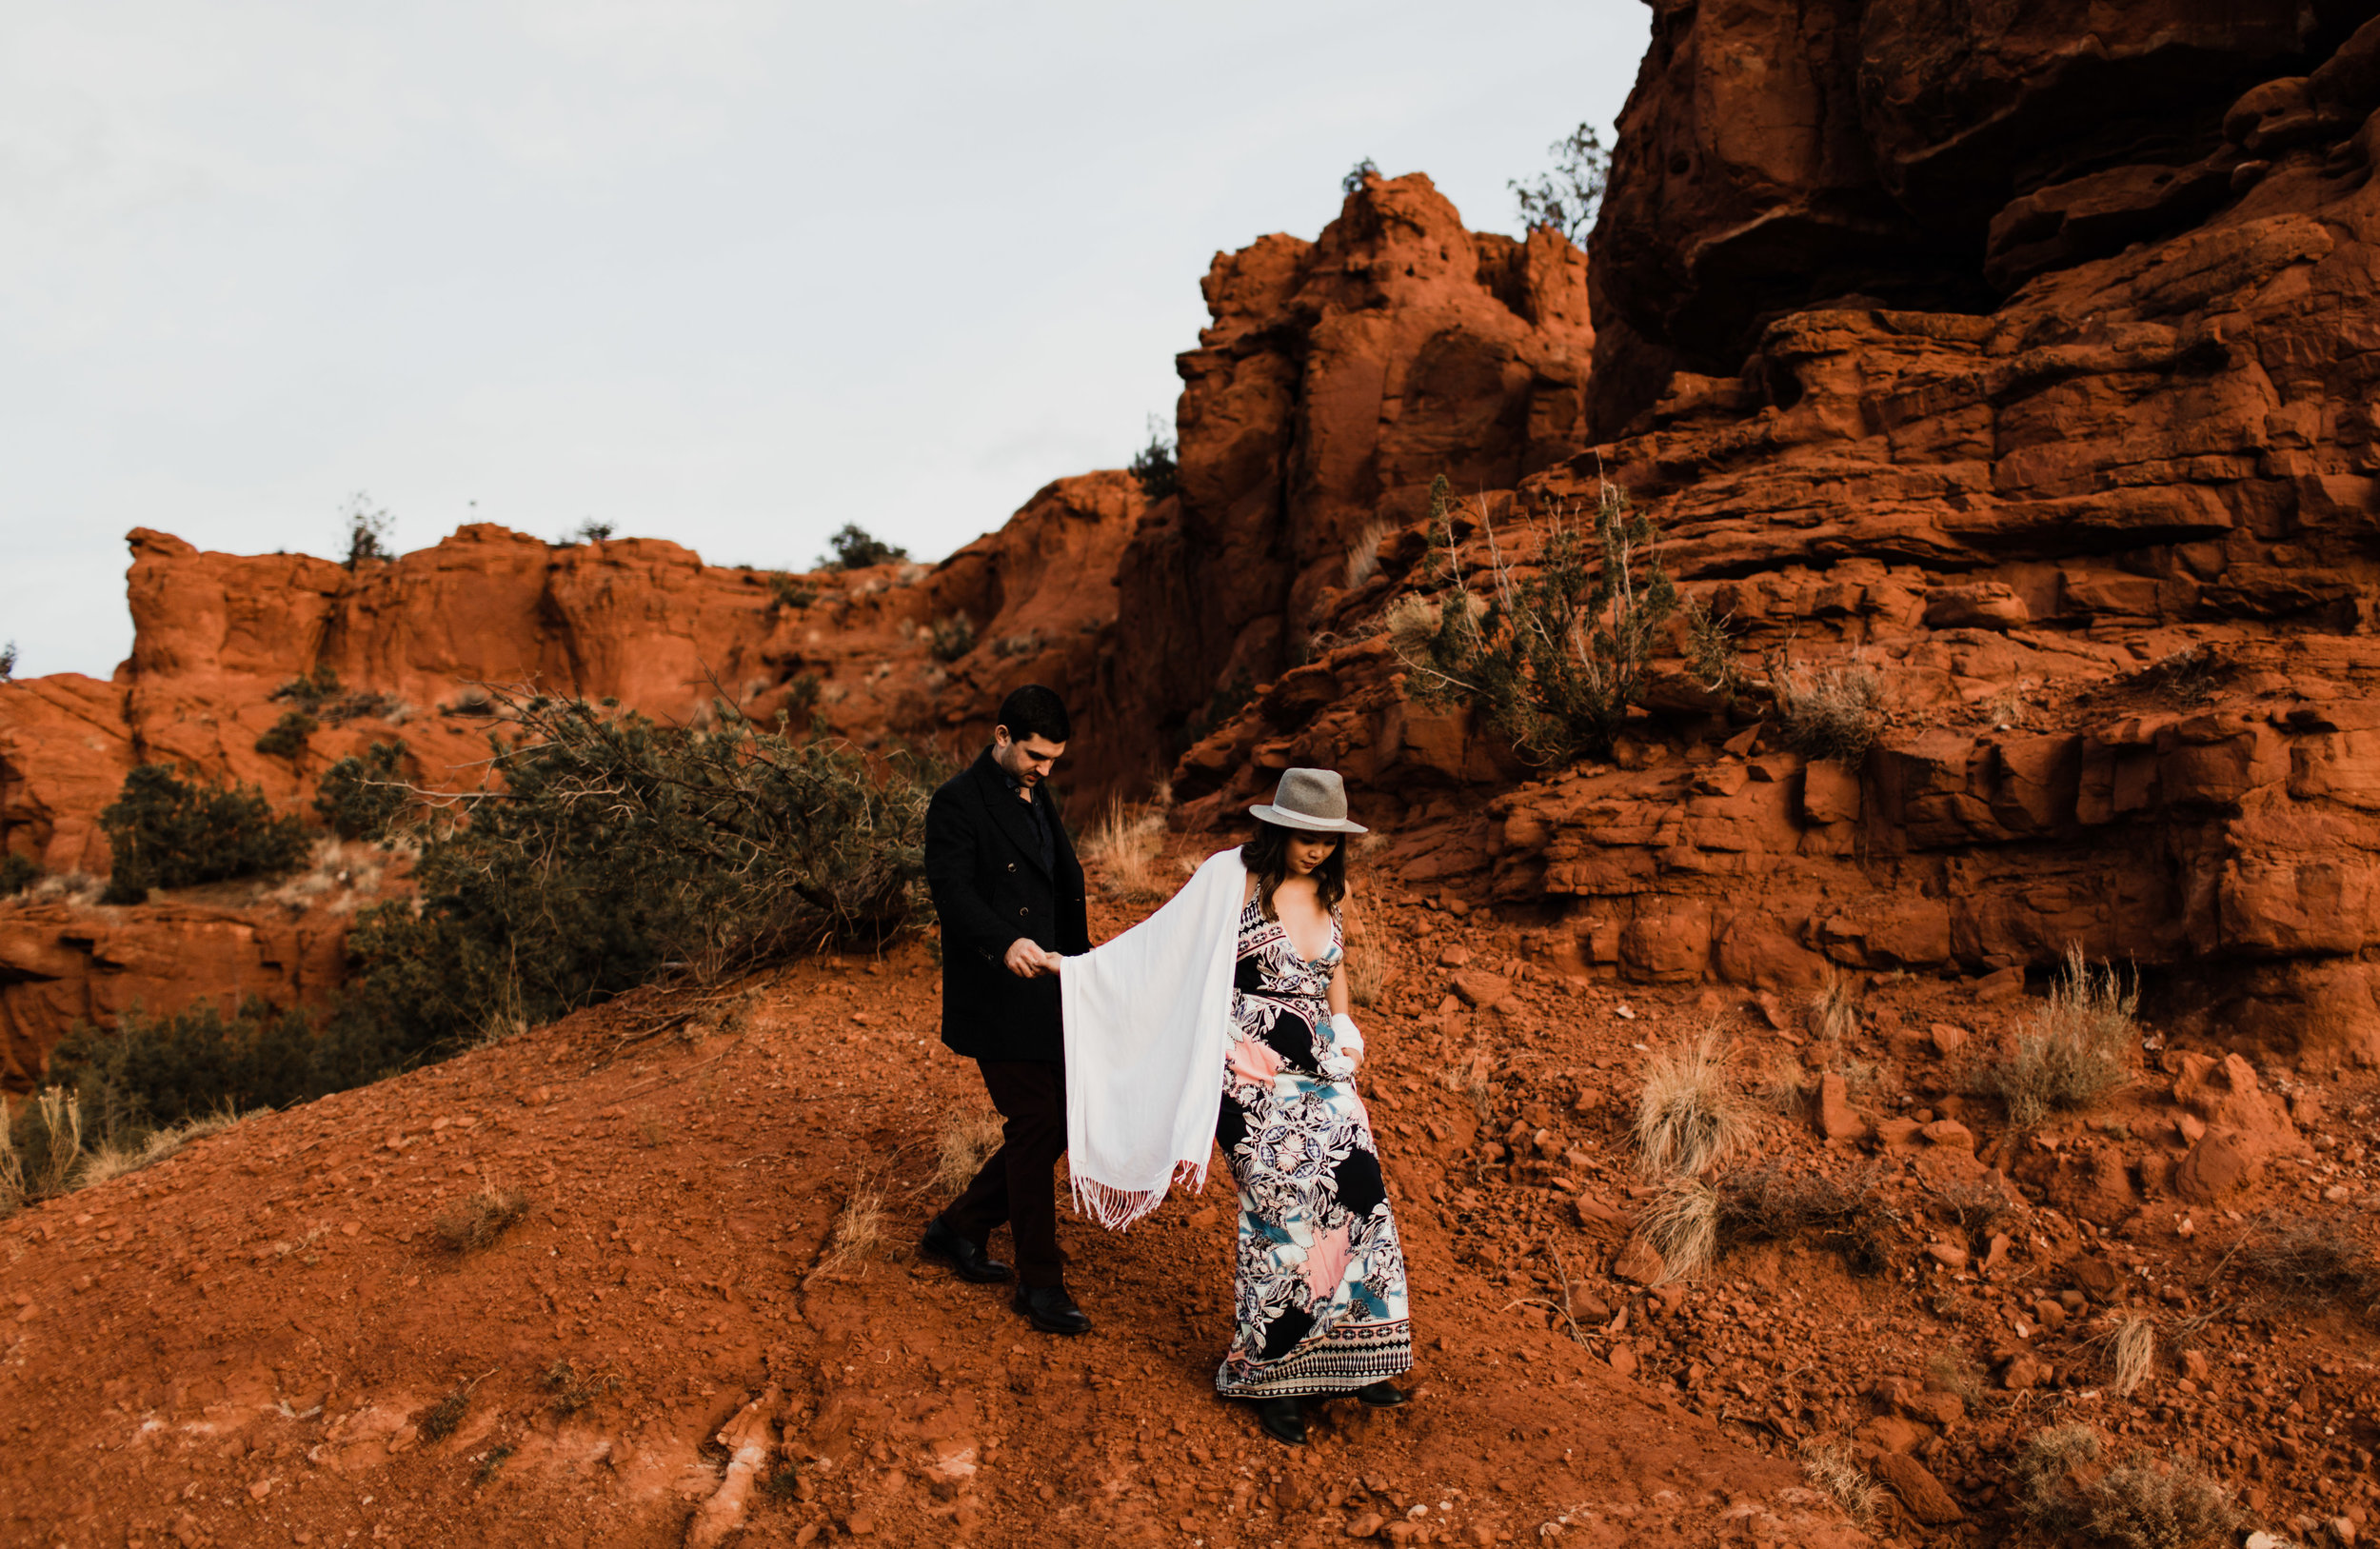
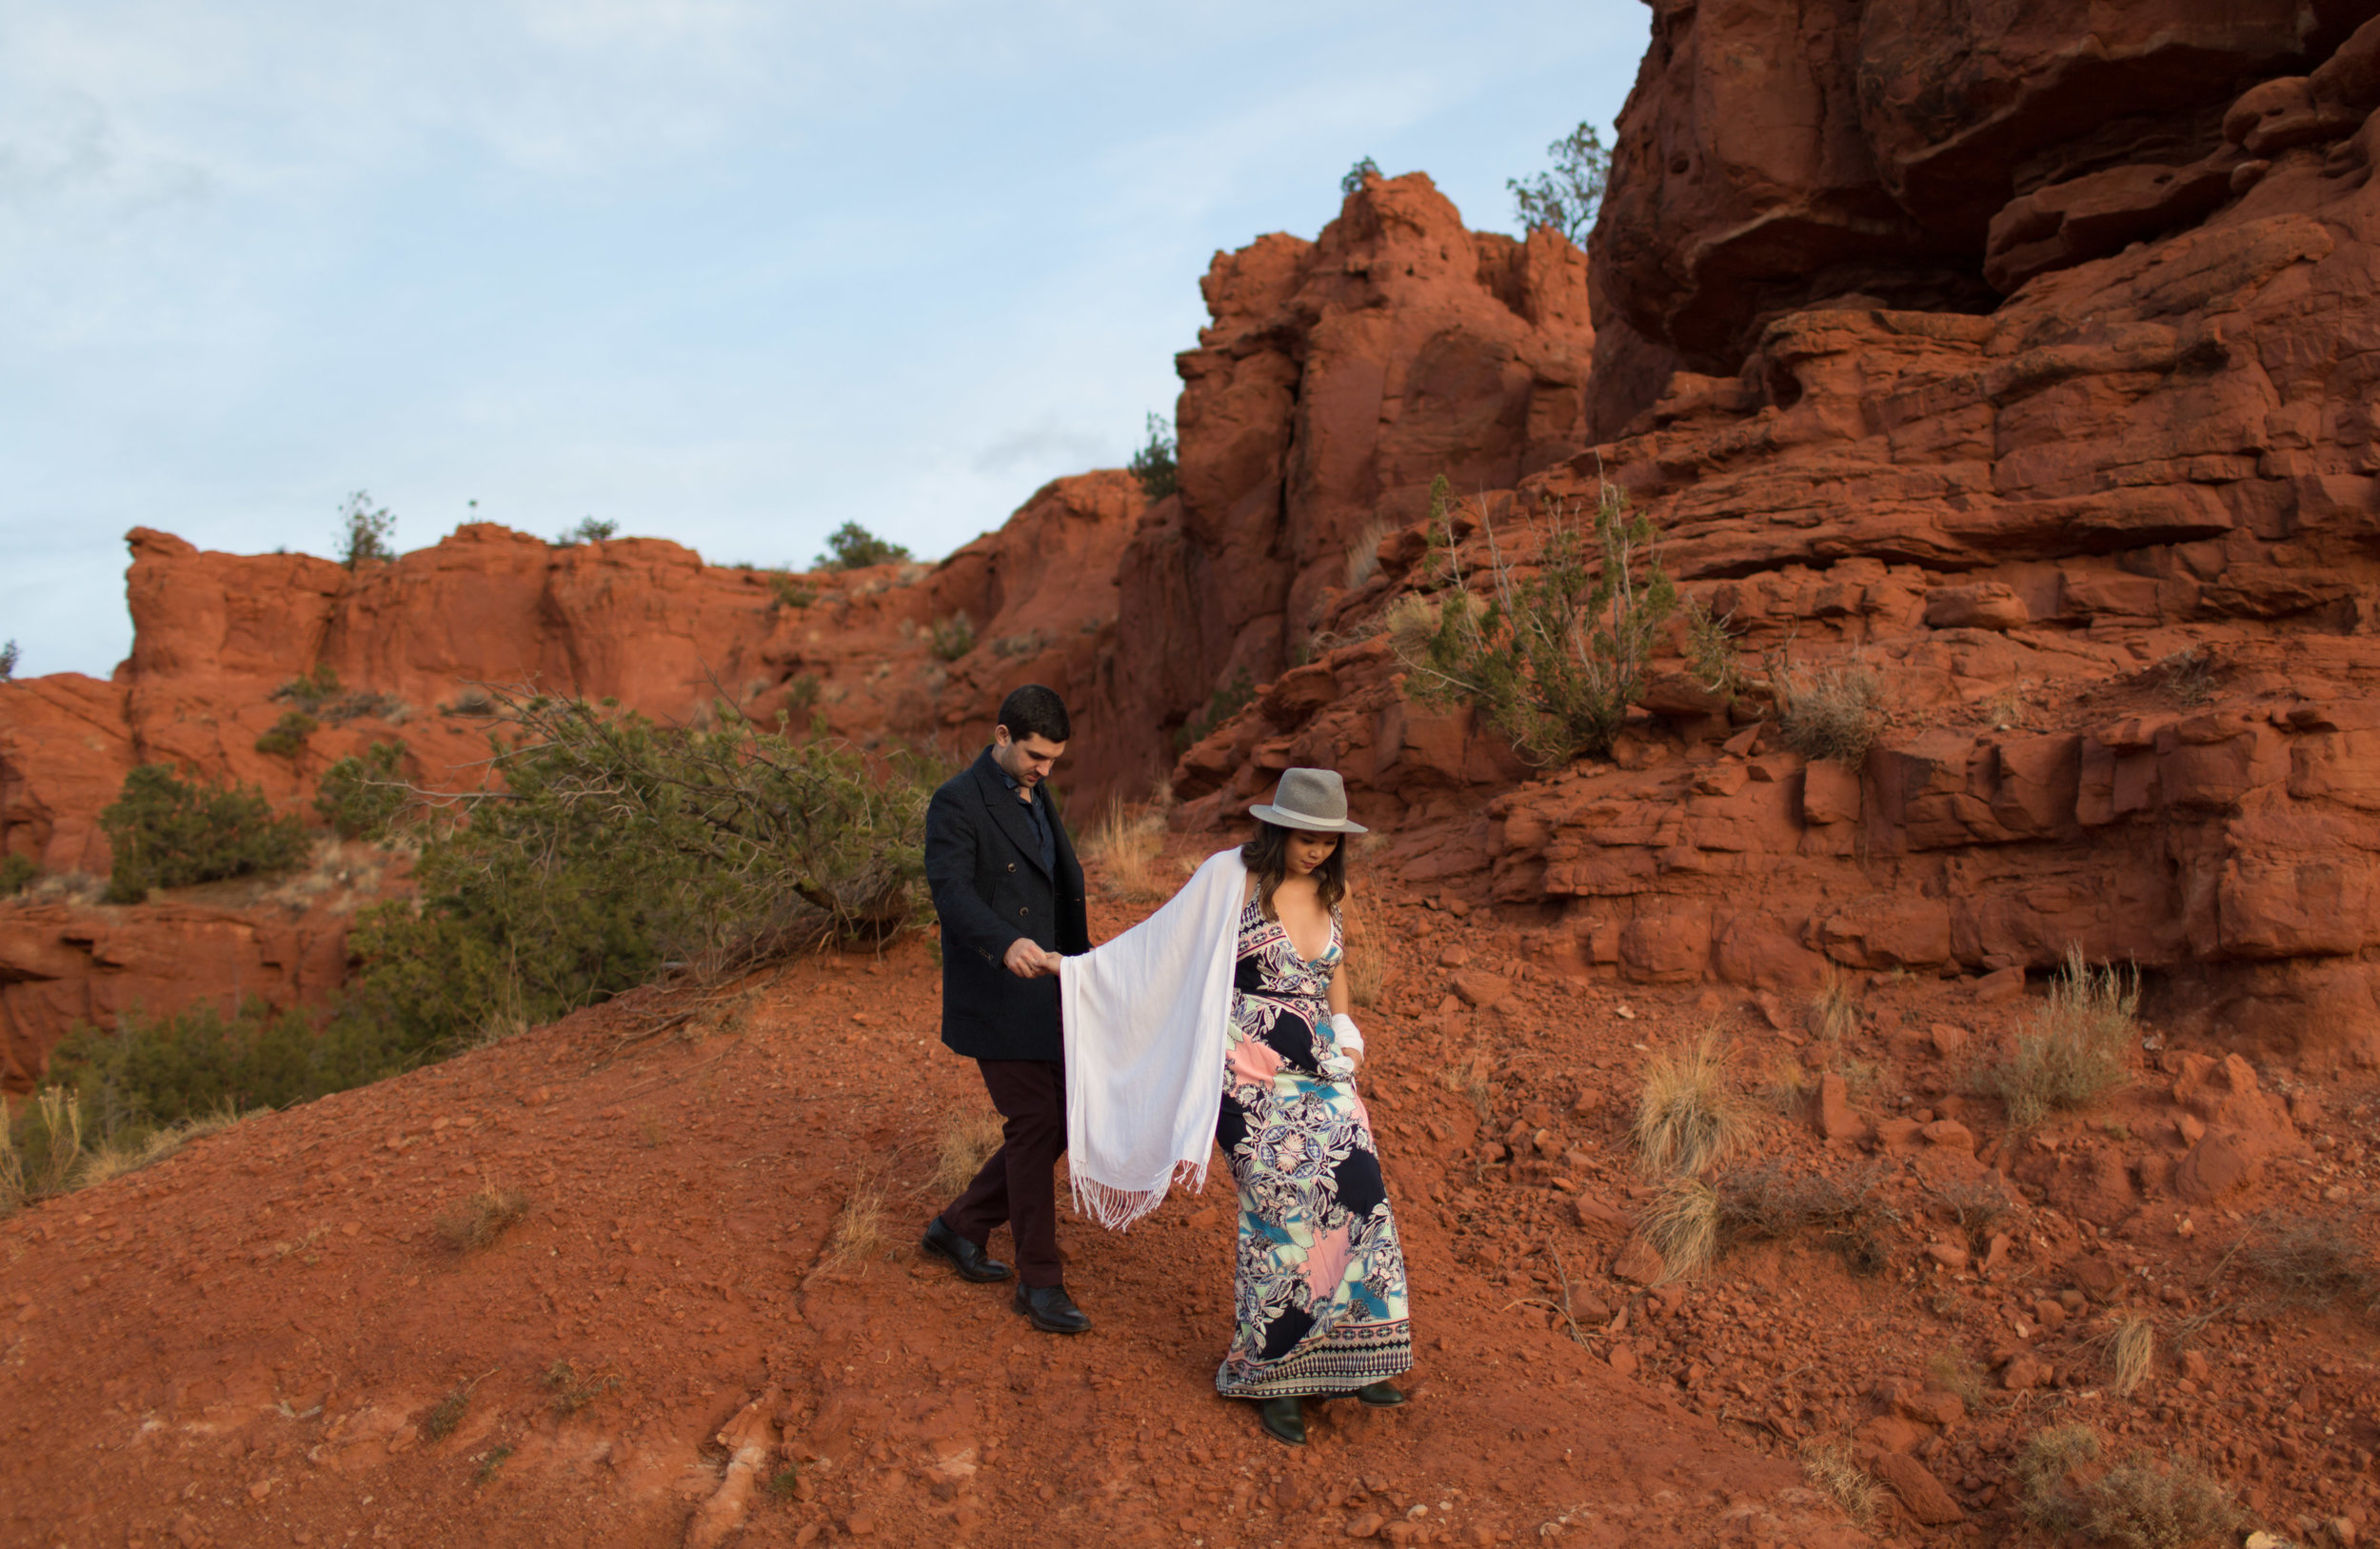
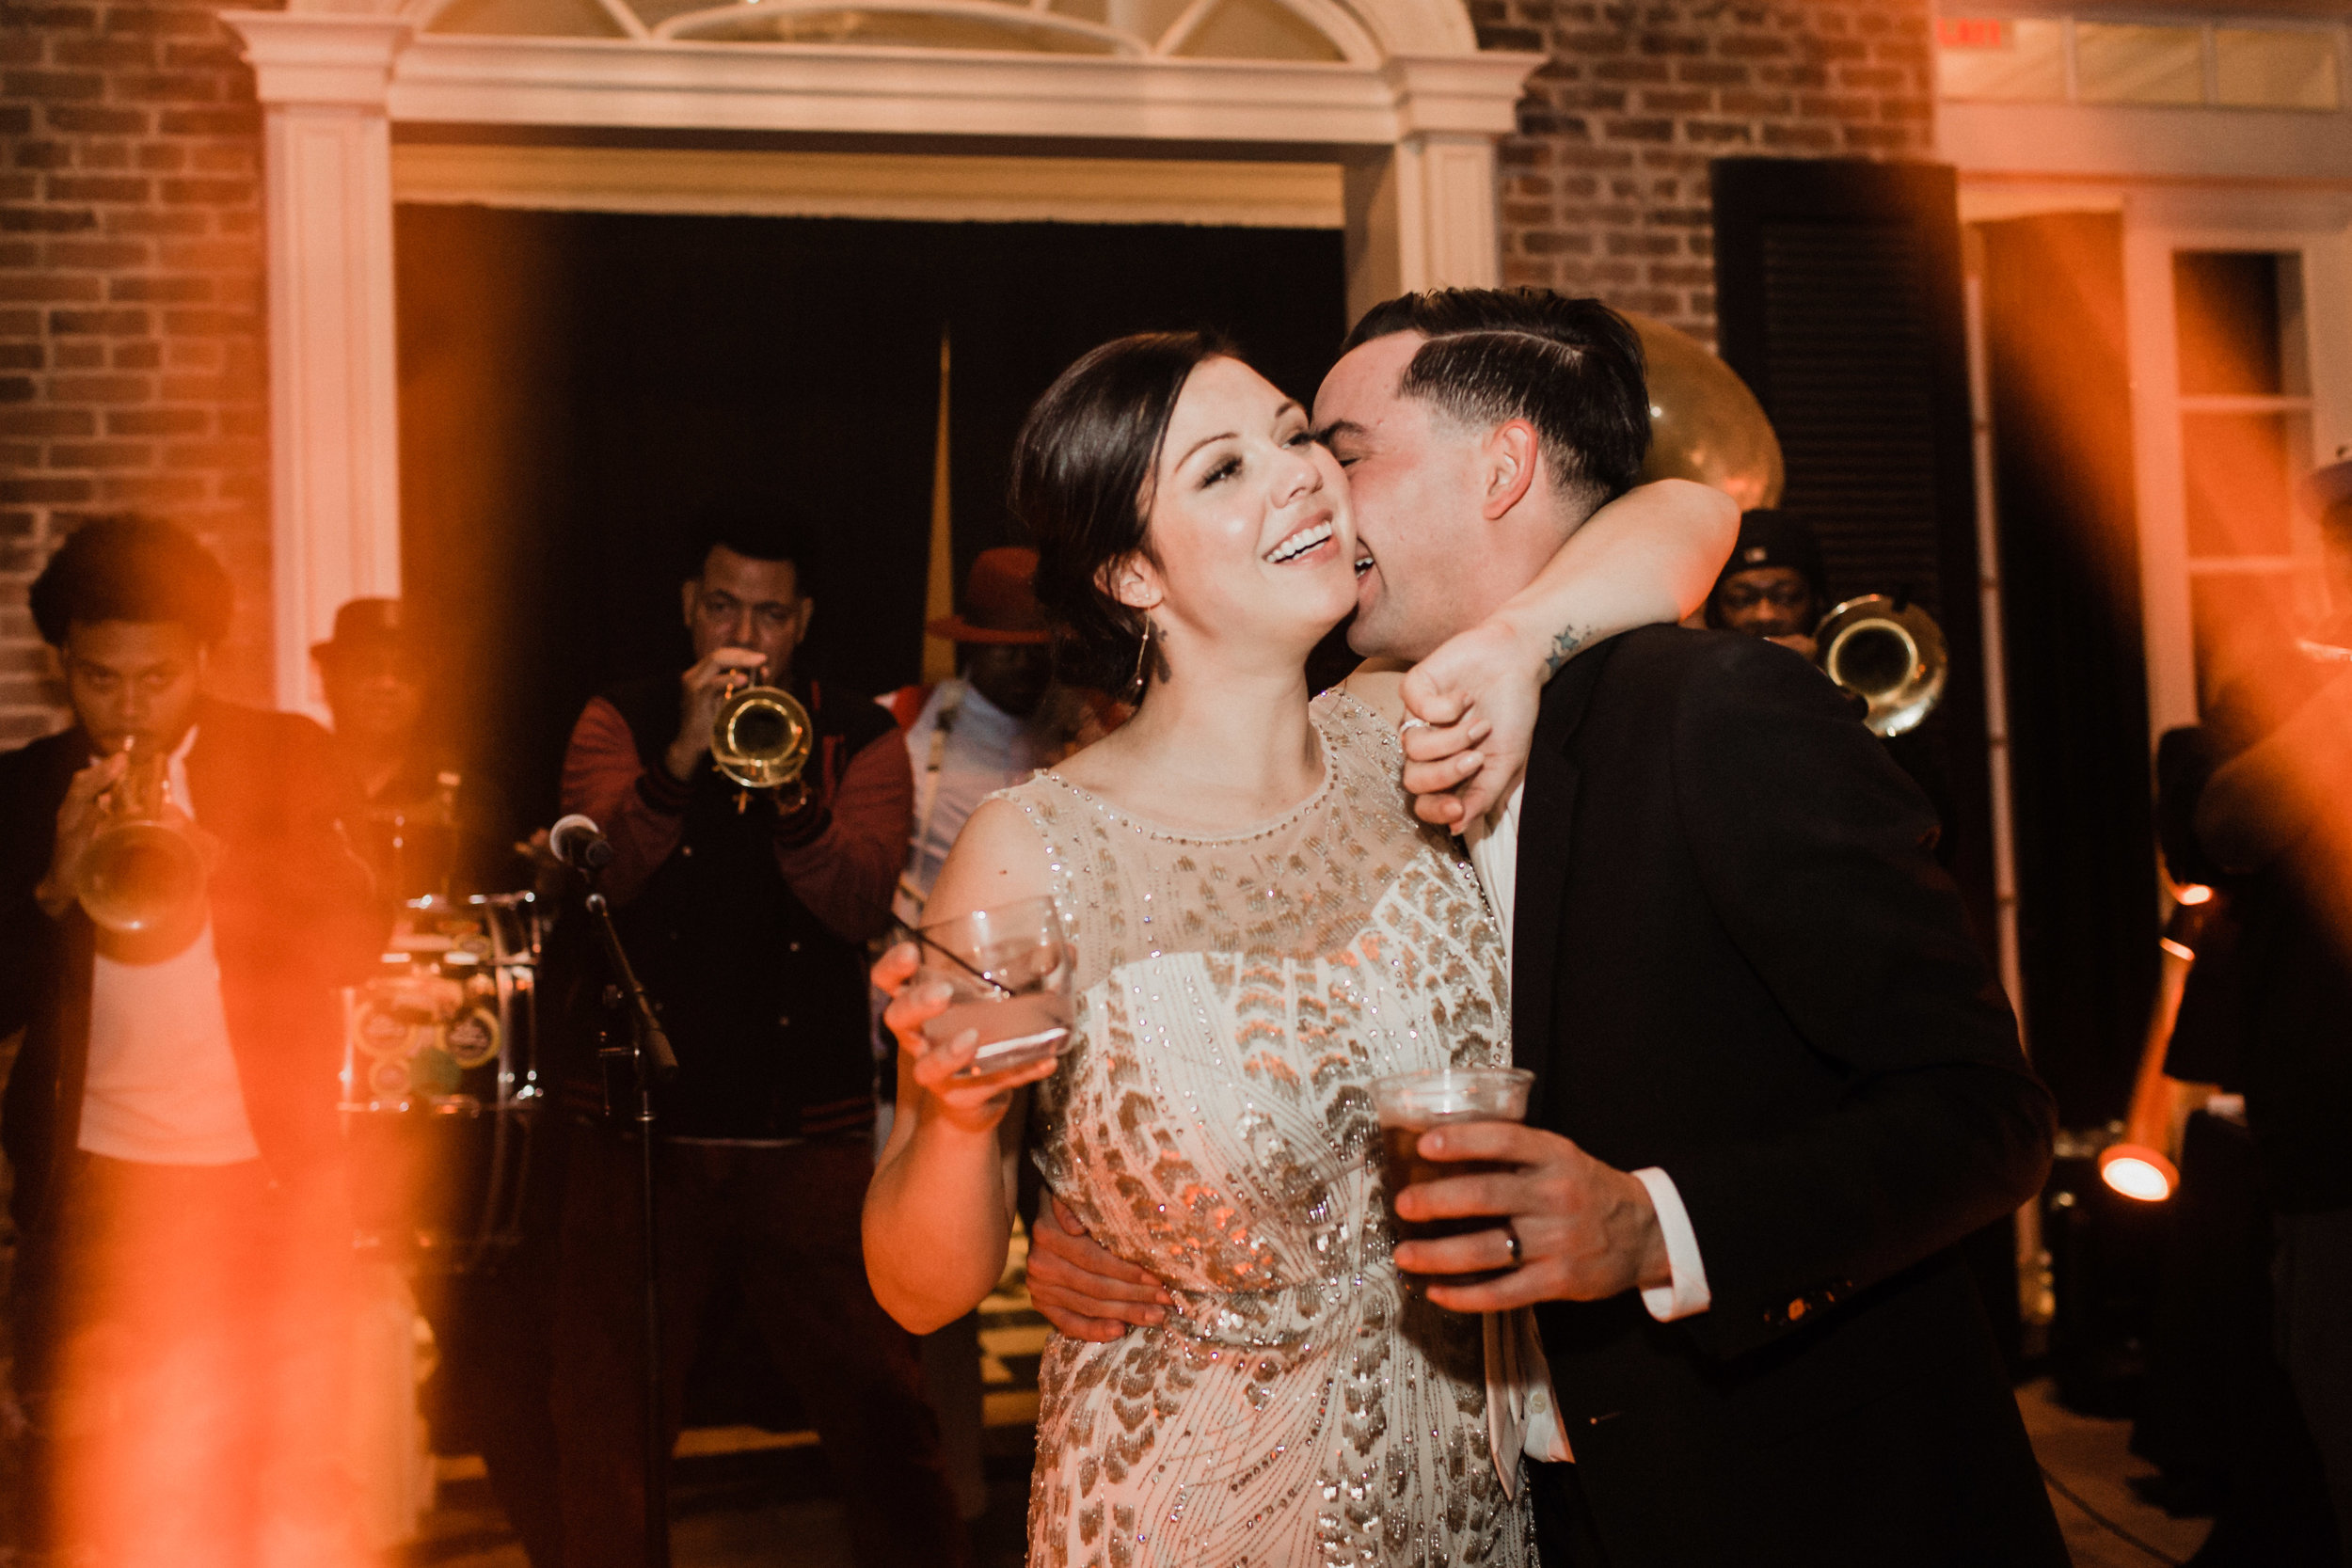
caldera presets
Classic styles from Elizabeth Wells Photography

CALDERA PRESETS
INSTALLATION & HOW-TO GUIDE
THANK YOU FOR BUYING CALDERA PRESETS!
We put a lot of effort into these presets, and we hope they make your photo editing workflow better, faster, and more efficient. This is a brief ‘How-To’ guide for installing and using your new presets with your photos.
— Minimum System Requirements —
Adobe Lightroom Classic
Adobe Photoshop CC
Mac OSX Sierra
Microsoft Windows 10
INSTALL FOR ADOBE LIGHTROOM CLASSIC
1. Download and open the ‘CALDERA PRESETS.zip’ file
2. Open Adobe Lightroom Classic
3. Open the Develop module (D)
4. Under the Presets panel on the left, right-click and select ‘New Folder’
5. Name it ‘CALDERA PRESETS’
6. Right-click the folder you just made and select ‘Import…’
7. Navigate to the ‘CALDERA PRESETS LR’ folder from your downloaded file
8. Select ALL the presets inside the folder and click the ‘Import’ button
Once you restart Adobe Lightroom Classic, you should see the CALDERA PRESETS available under the ‘Saved Preset’ menu in the Library module, and also under ‘Presets’ in the Develop module.
INSTALL FOR ADOBE CAMERA RAW (Mac)
1. Download and open the ‘CALDERA PRESETS.zip’ file
(This next part can be tricky - we need to locate the 'Settings' folder for Camera Raw)
2. Click the Finder icon; in the Menu Bar, click Go and while holding the (Option) key, select Library from the drop-down menu
3. Navigate to "/Application Support/Adobe/CameraRaw/Settings"
4. In a new Finder window, open the 'CALDERA PRESETS ACR' folder
5. Select all the presets inside the 'CALDERA PRESETS ACR' folder and copy
6. Paste the presets into the 'Settings' folder
Once you restart Adobe Bridge or Photoshop, you should see the CALDERA PRESETS available under the ‘Presets’ menu inside of the Camera Raw Filter/Camera Raw module.
Install For Adobe Camera Raw (Win)
1. Download and open the ‘CALDERA PRESETS.zip’ file
This next part can be tricky - we need to locate the 'Settings' folder for Camera Raw.
2. In Explorer, select View and make sure the 'Hidden Items' box is checked
3. Navigate to C:\Users\your-username\AppData\Roaming\Adobe\CameraRaw\Settings
4. In a new Explorer window, open the 'CALDERA PRESETS ACR' folder
5. Select all the presets inside the 'CALDERA PRESETS ACR' folder and copy
6. Paste the presets into the 'Settings' folder
7. Reverse Step 2 if you would like your 'Hidden Items' to be hidden again
Once you restart Adobe Bridge or Photoshop, you should see the CALDERA PRESETS available under the ‘Presets’ menu inside of the Camera Raw Filter/Camera Raw module.
HOW TO USE CALDERA PRESETS
Caldera Presets are designed to be used on a clean-edited photo. In other words, before you apply a preset, it's best to first set the White Balance and Exposure of your image, but it is not required in order for the preset to work.
The overall Exposure of your image WILL be altered due to the changing values of the Highlights, Shadows, Whites and Blacks in each preset. You will need to adjust Exposure after the preset is applied in order for the preset to look as intended.
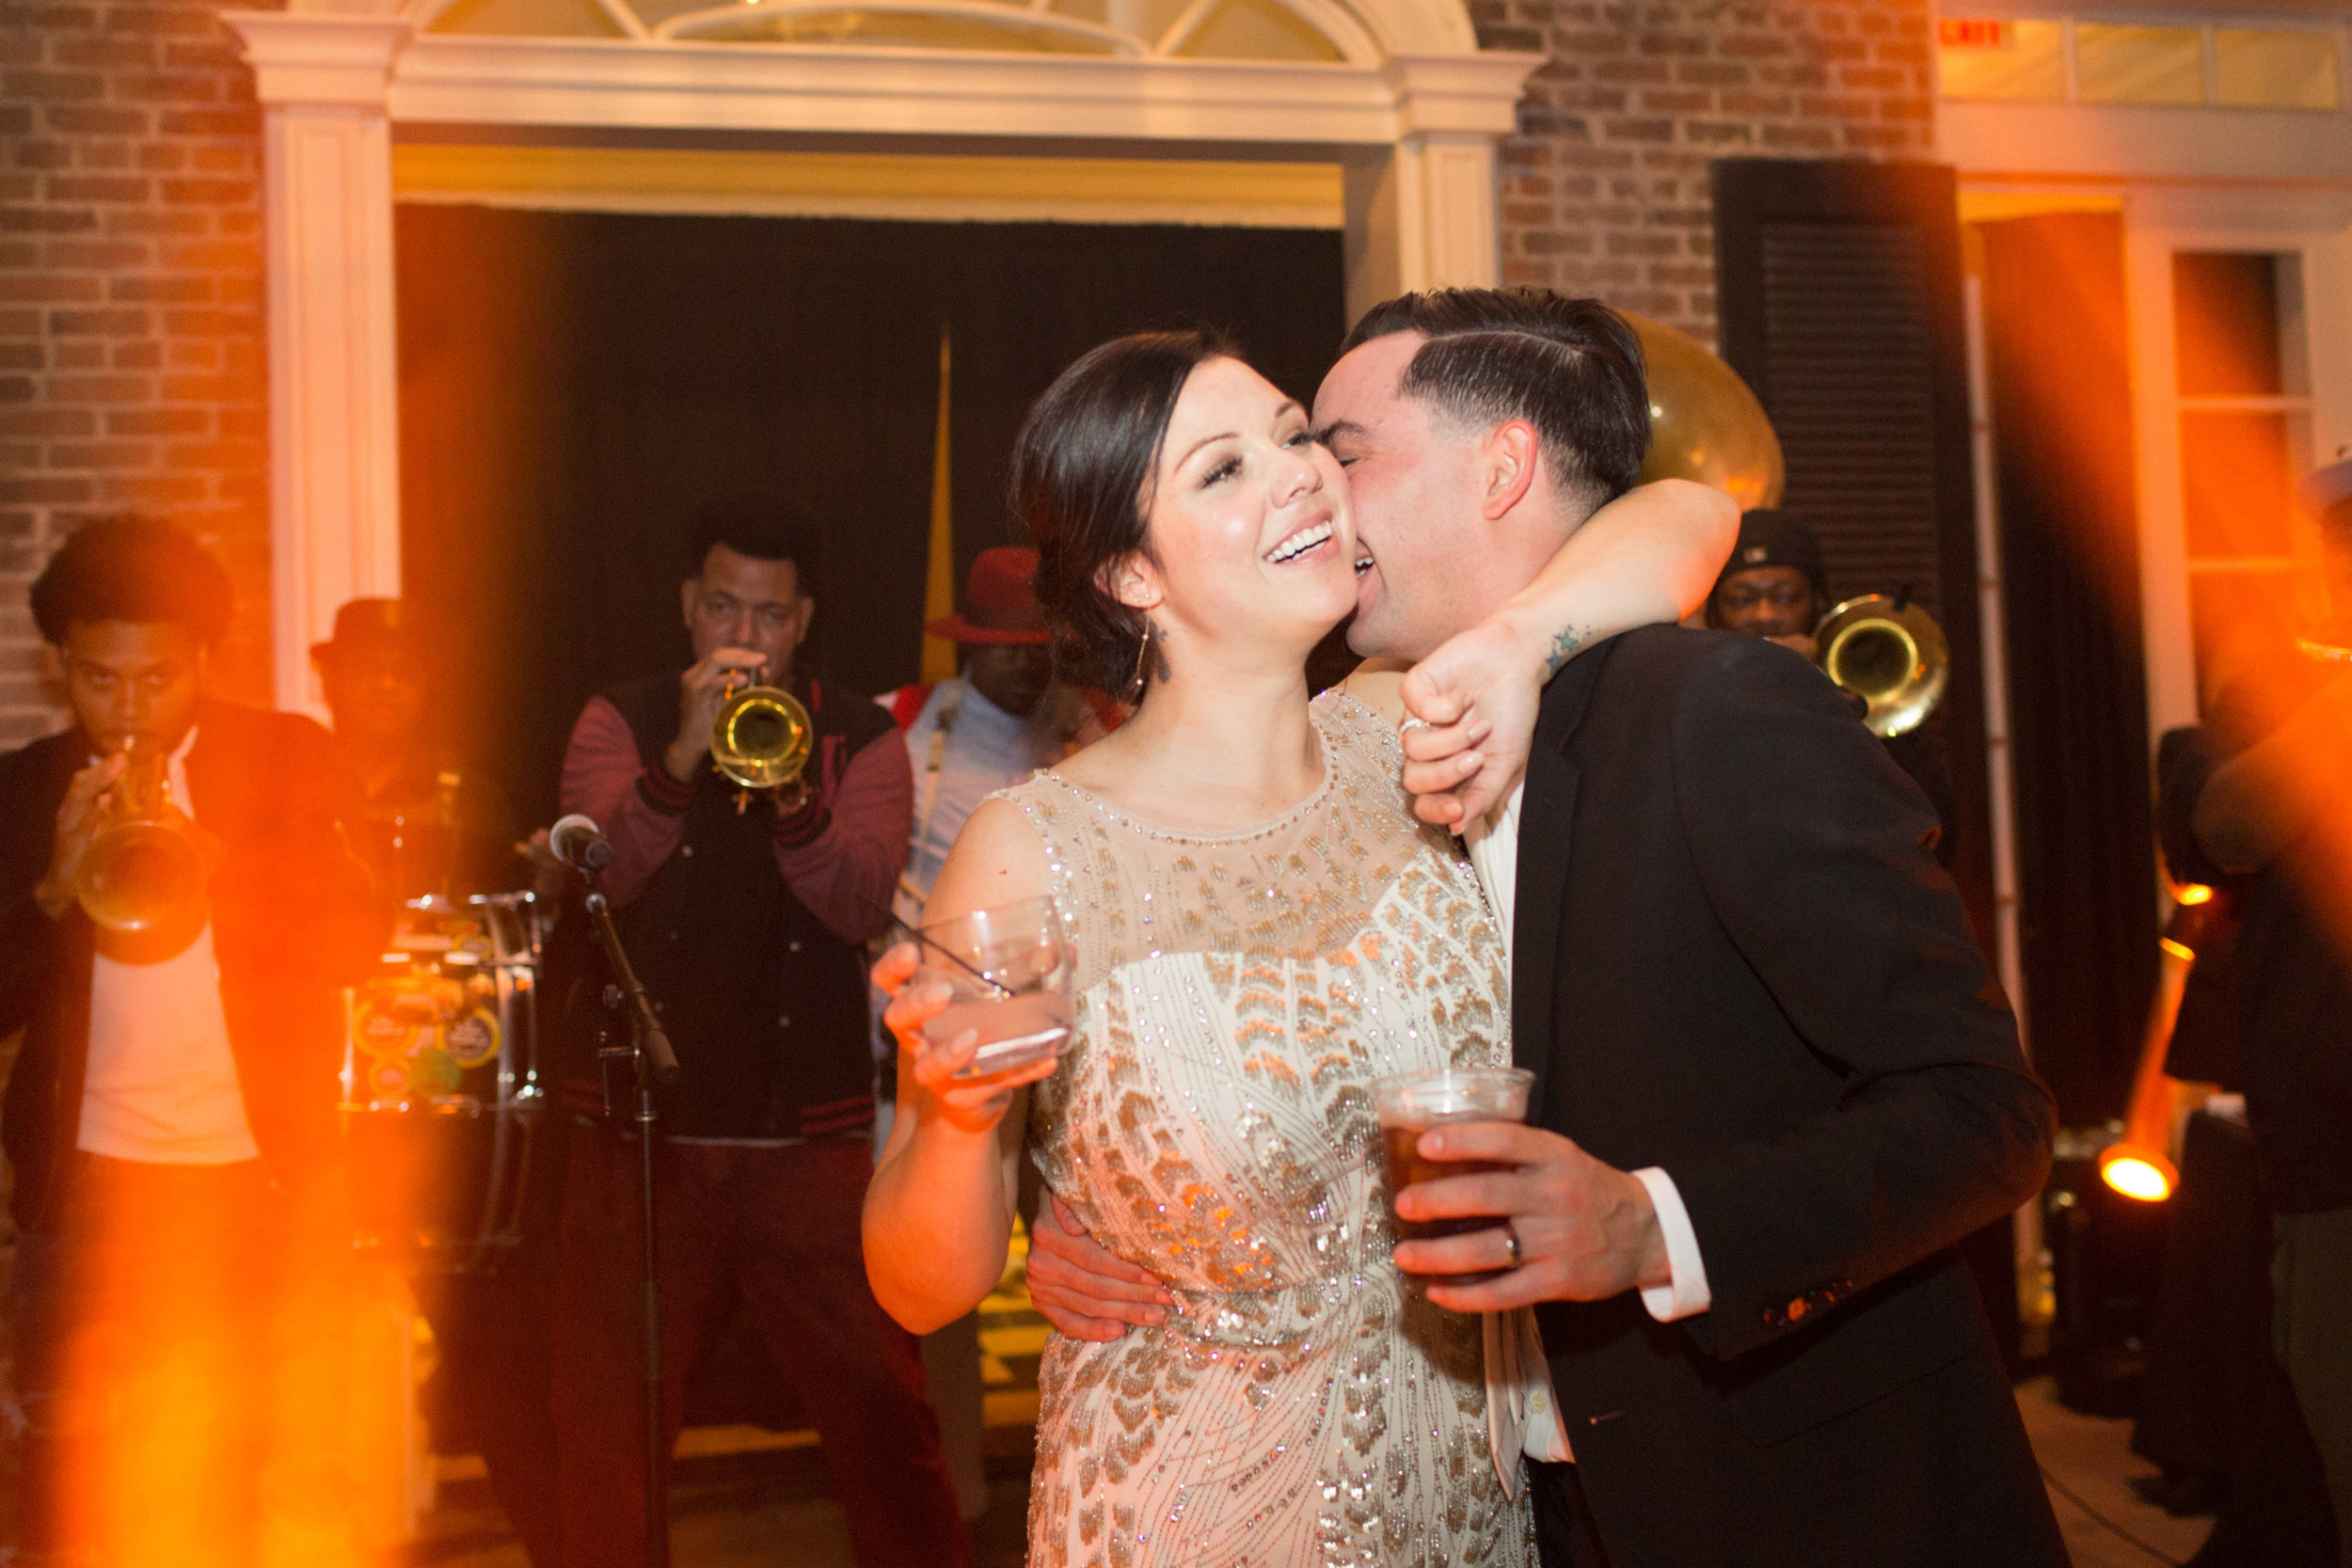
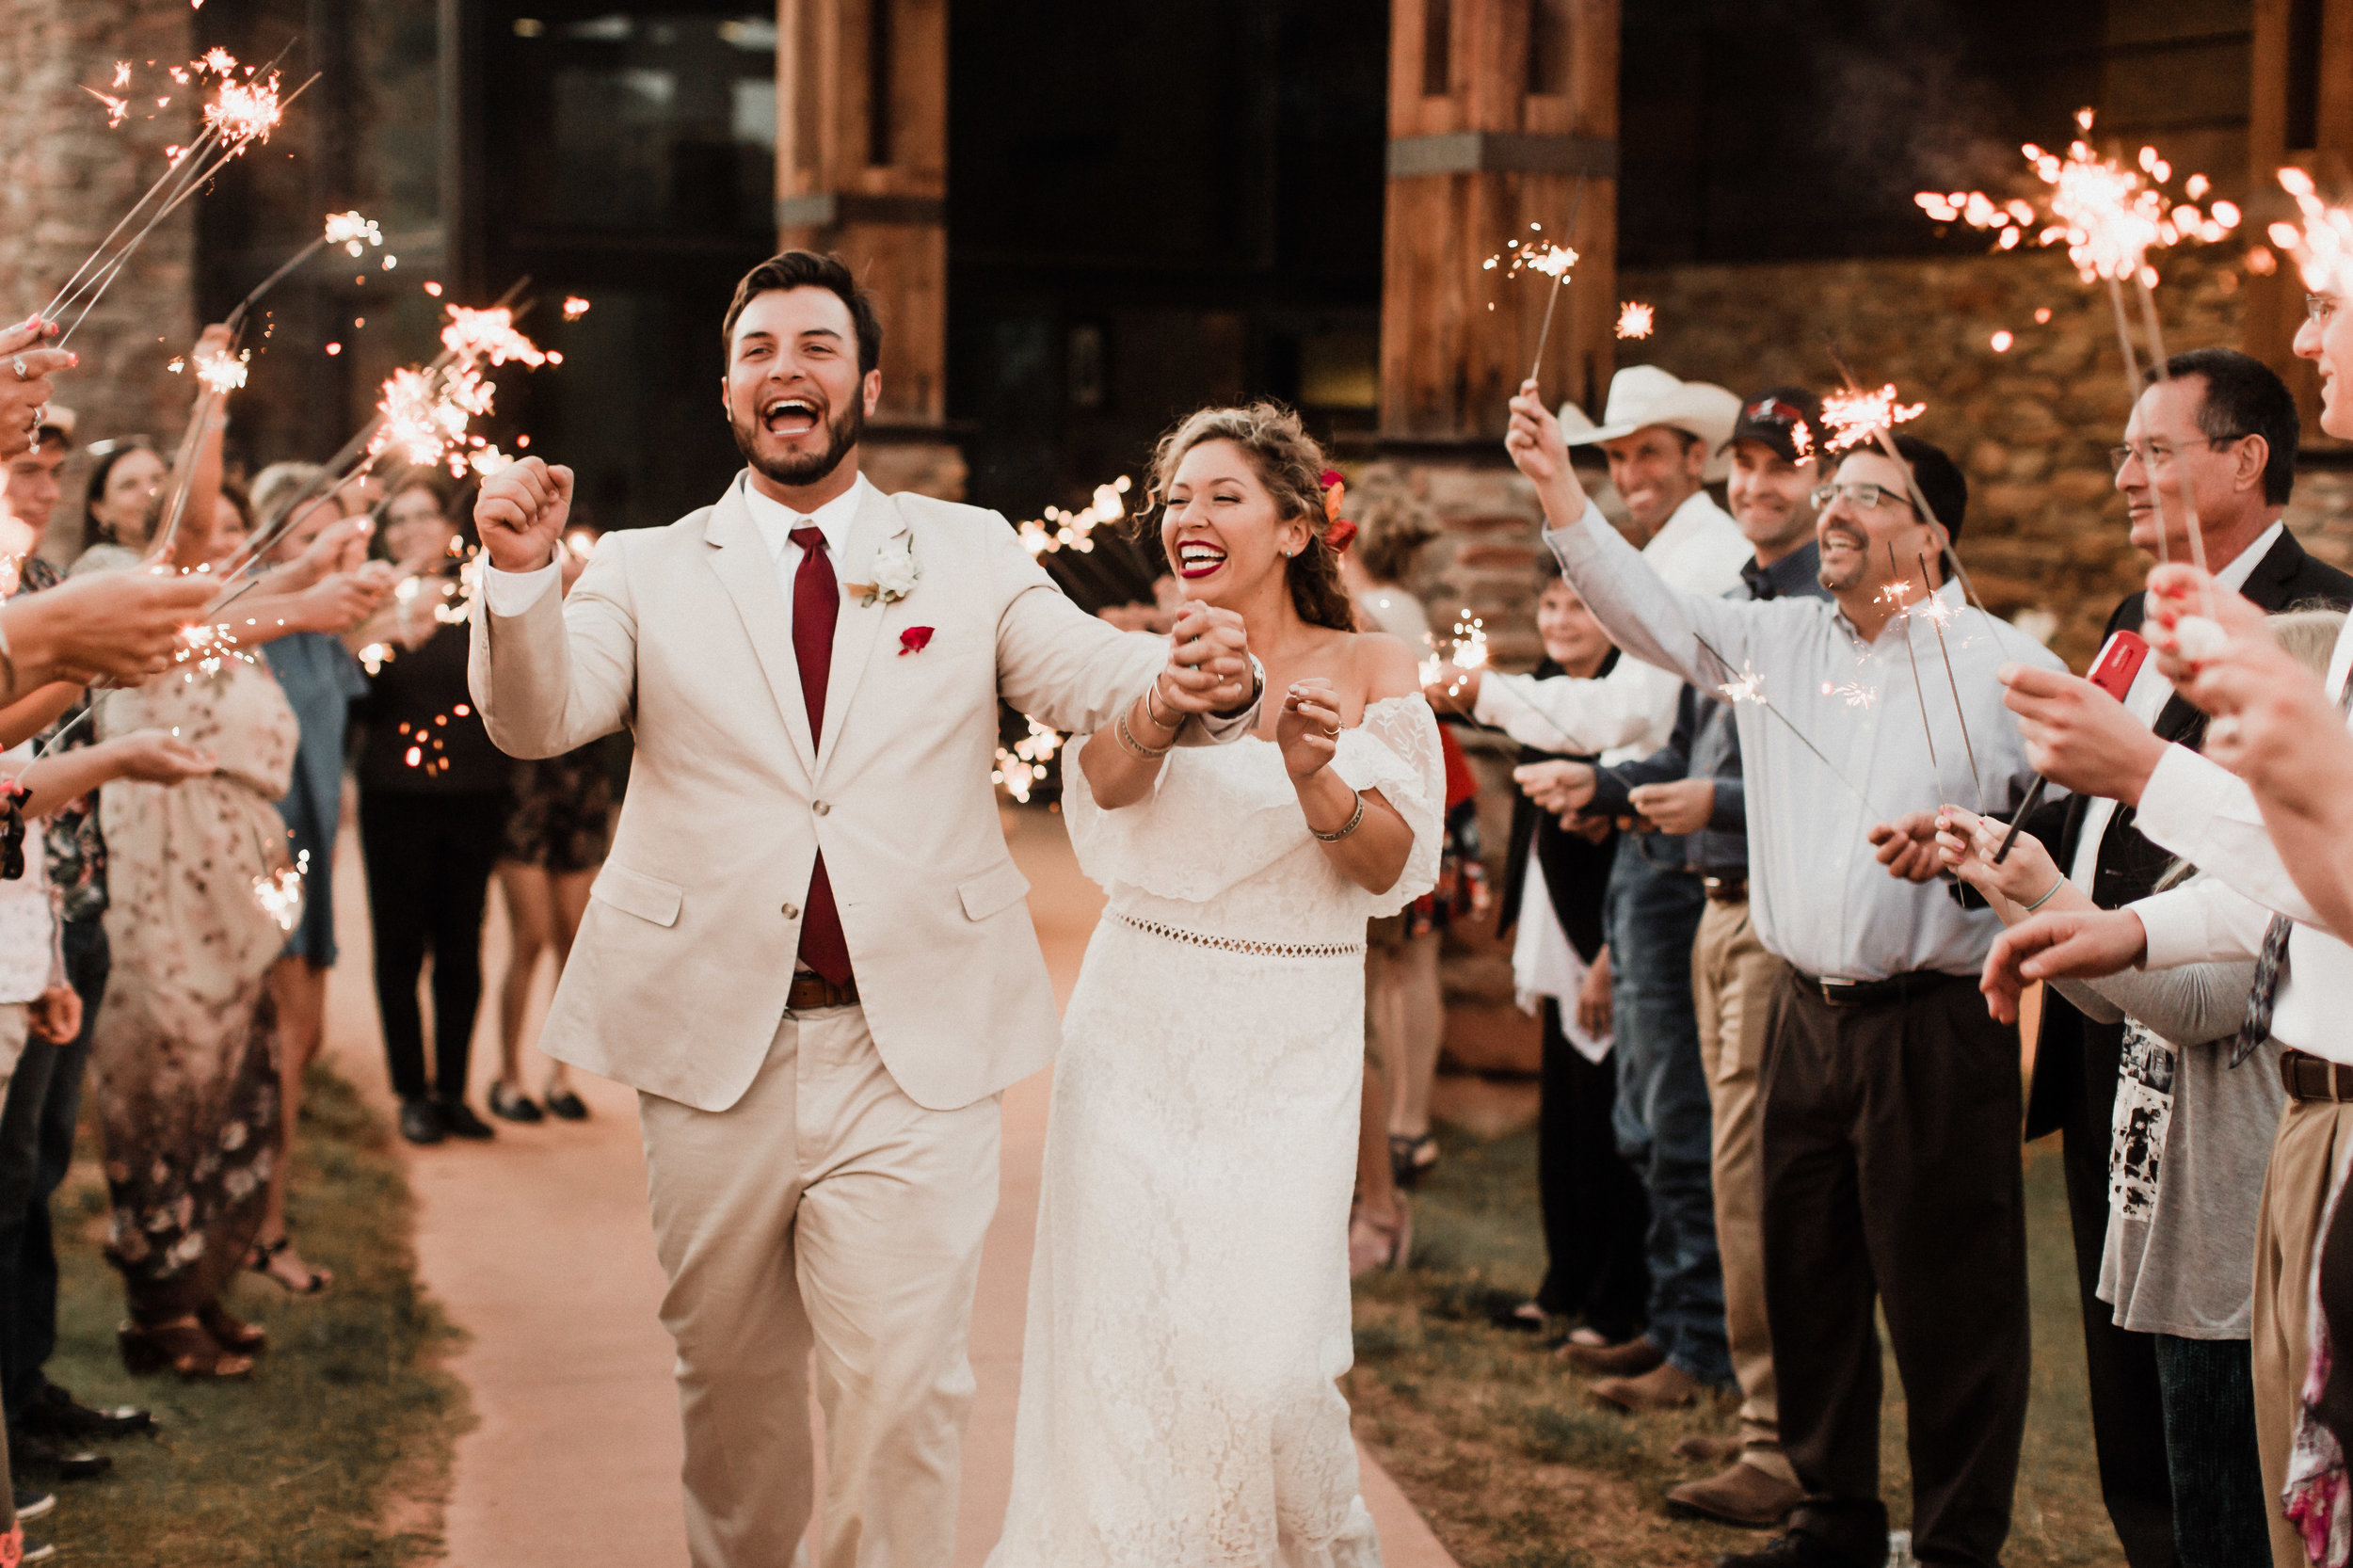
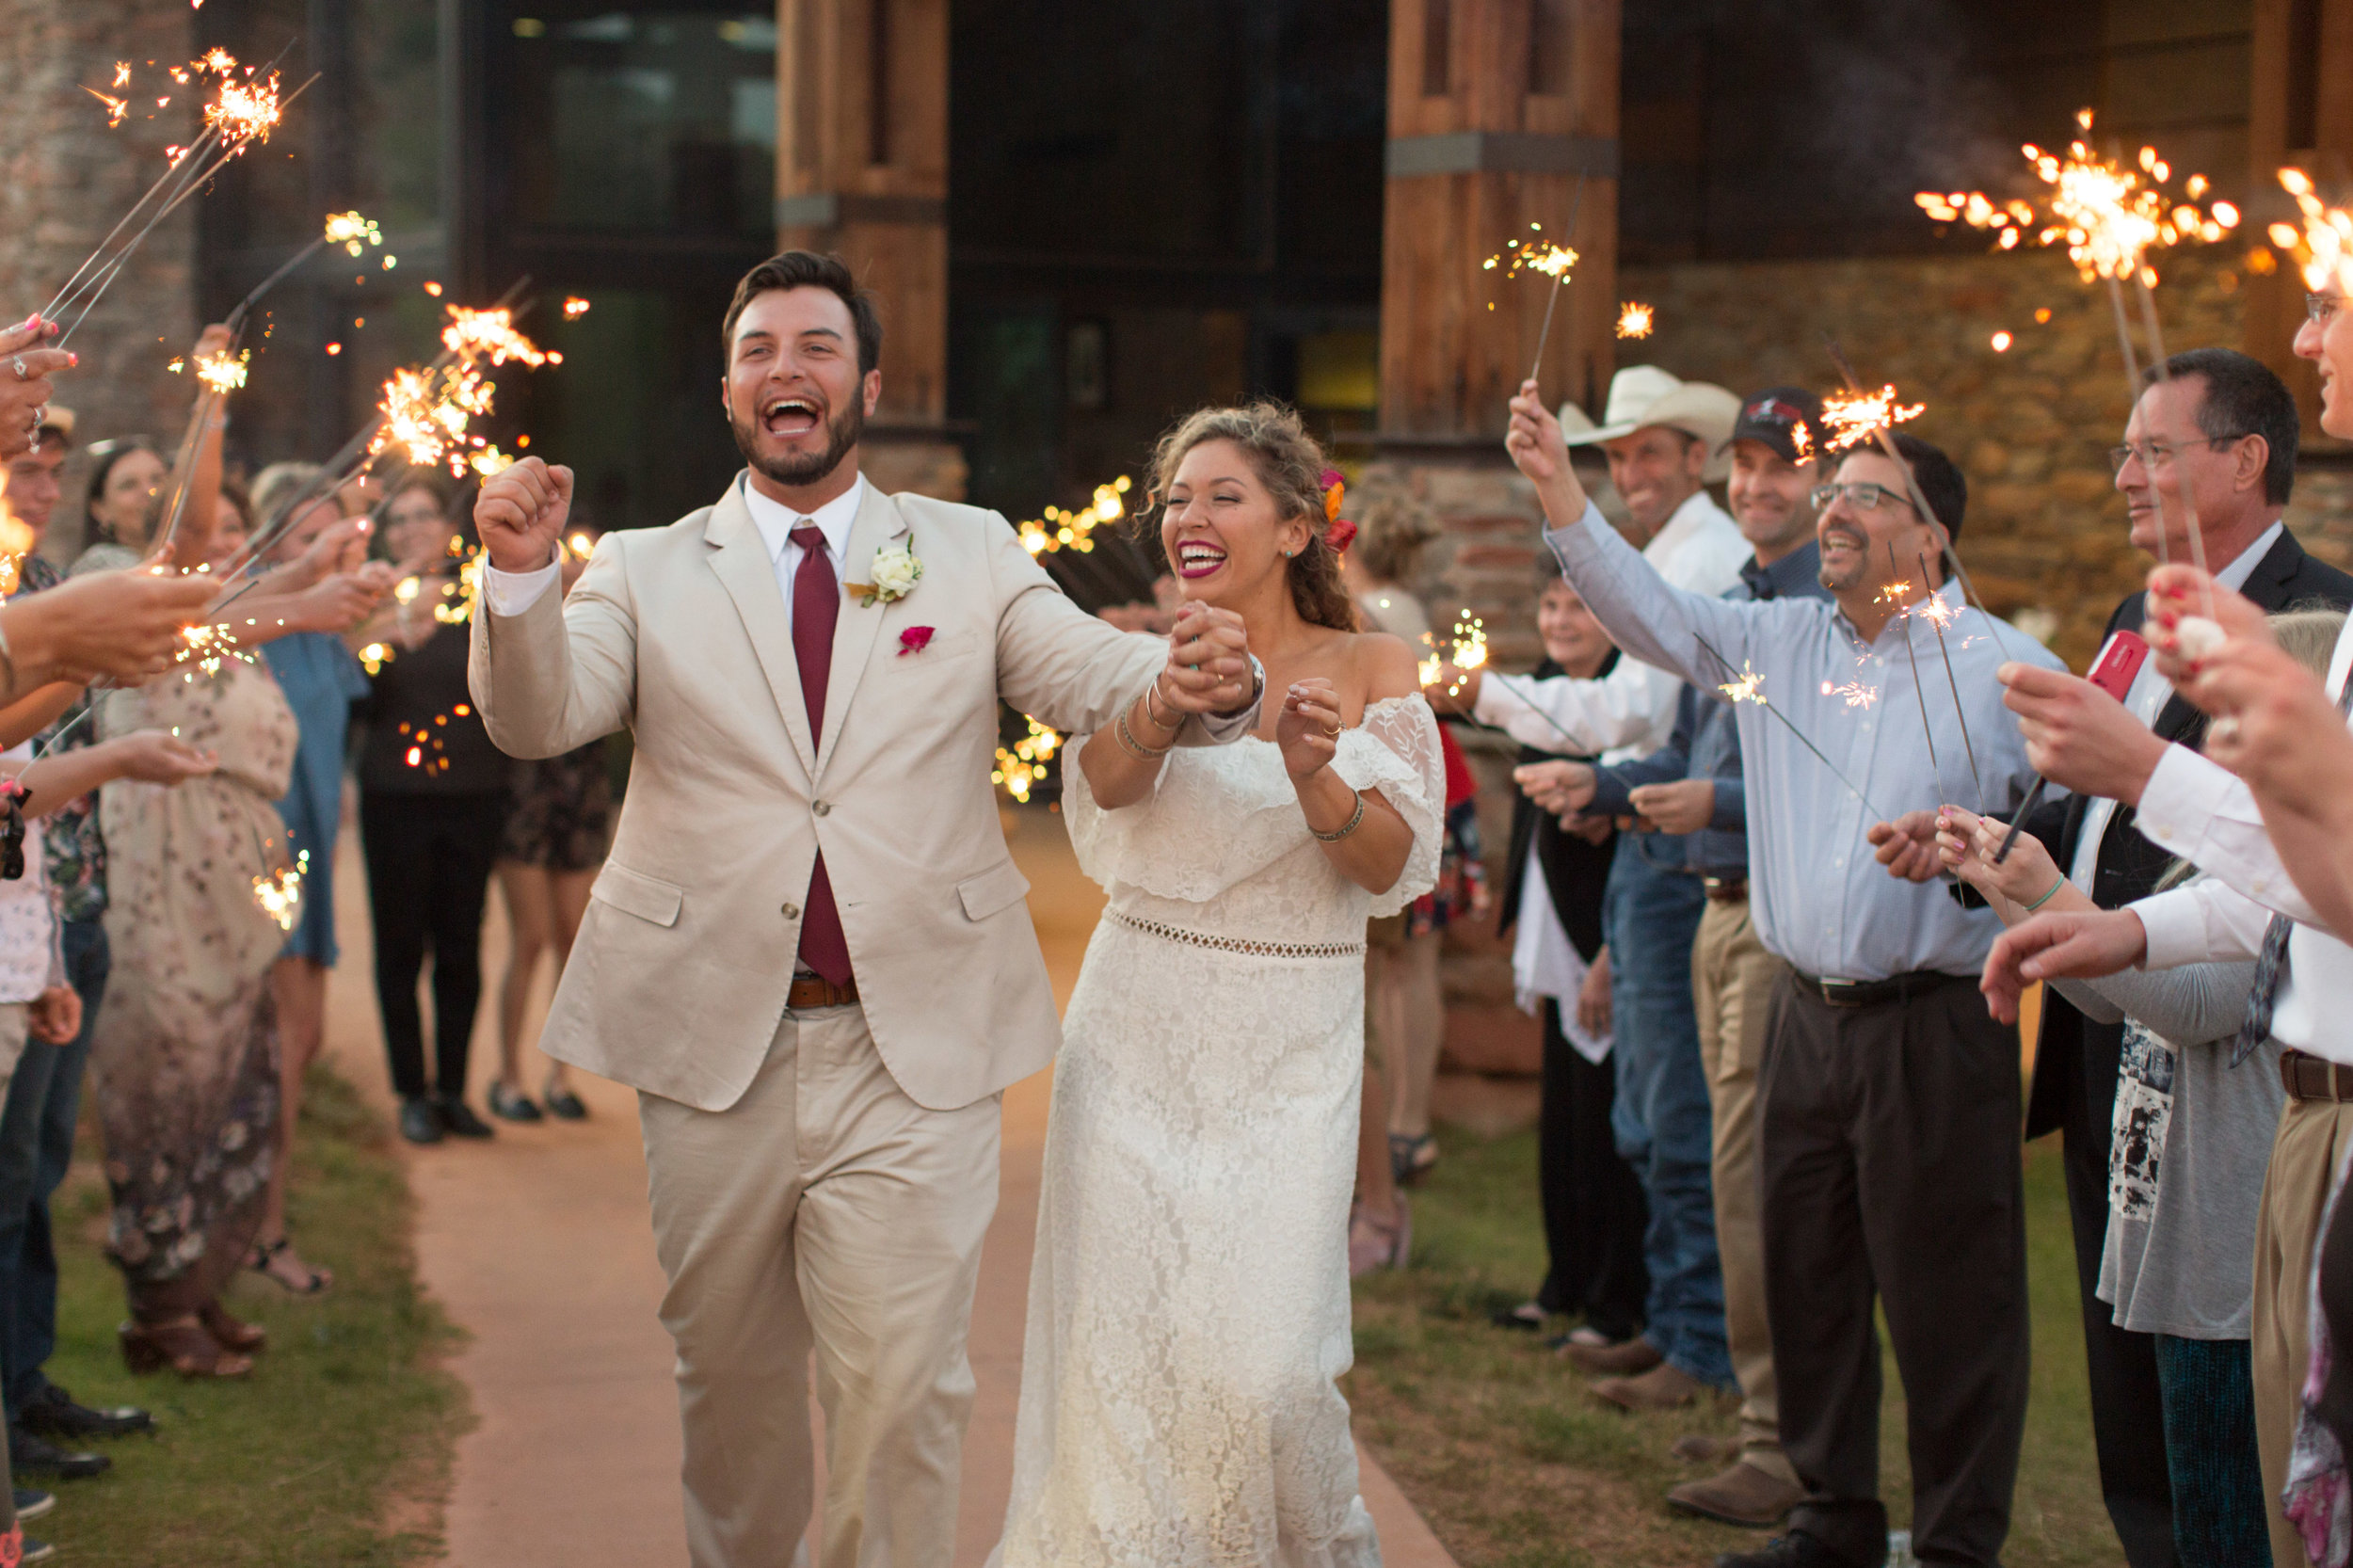
Each preset has been named according to the different lighting situations you may encounter during a photo shoot. For instance, CALDERA - DIFFUSE is designed for even, diffuse skies, or golden hour lighting. CALDERA - BACKLIT is designed for back lit subjects, and so on. The presets with a '+' symbol have added contrast.
And finally, have fun! Experiment! The more you mess around with the settings and sliders in Lightroom and Camera Raw, the more you'll discover new ways to edit you photos and develop style that is truly unique.
APPLY CALDERA PRESETS IN LIGHTROOM
1. Open Adobe Lightroom Classic
2. In the Library module (E), select a group of photos with similar lighting
3. Under the Quick Develop panel on the right, find CALDERA PRESETS under the Saved Presets menu and click to apply the preset you want for your images
or...
4. In the Develop module (D), select a photo or group of photos with similar lighting
5. Under the Presets panel on the left, locate the CALDERA PRESETS folder and click a preset to apply it to your image
APPLY CALDERA PRESETS IN CAMERA RAW
1. From Adobe Bridge or Photoshop, open an image with the Camera Raw module or filter
2. Under the Presets panel, locate the preset you want and click to apply it to your image
TECHNICAL SUPPORT
We want this product to help save you time in your editing workflow! If you have any questions or problems with installation or with using CALDERA PRESETS, please let us know by email. We will respond ASAP.
elizabethwellsphoto@gmail.com